
Documents & specification

How to test sealant adhesion and compatibility

Plan substrate identification, small adhesion checks, compatibility screening and formal project testing without overextending the result.

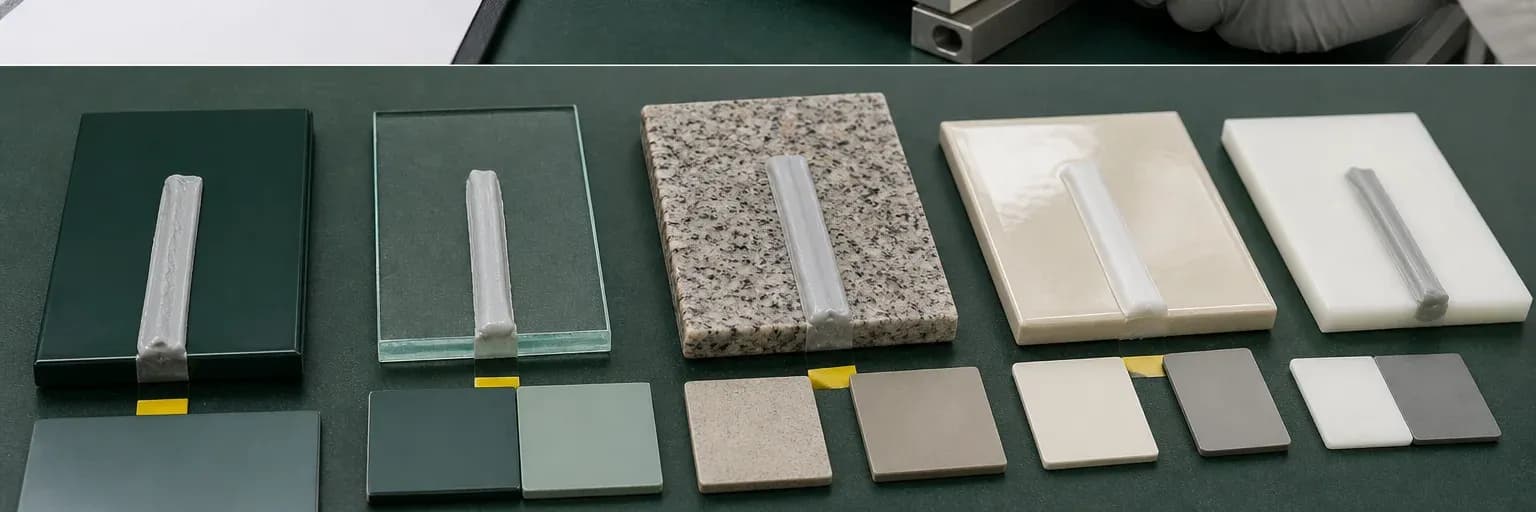
Labelled substrate coupons with cured sealant beads prepared for adhesion and staining observations
Testing is useful when it reproduces the named product, actual surfaces, preparation and cure—and keeps the conclusion within that scope.

Short answer

What to know first

Identify both substrates, coatings and adjacent materials, then follow the selected sealant manufacturer’s test and primer procedure. A field patch can screen preparation and adhesion on the actual surface, while formal laboratory or project tests may be needed for façades, staining, glazing or safety-critical work. Record product batch, substrate, preparation, primer, cure conditions and failure plane. A pass applies only to the tested combination and conditions.

Adhesion and compatibility are related but different. A sealant may stick at first yet stain stone, soften beside another material or deteriorate after exposure. A generic compatibility list cannot cover every coating, batch, cleaner and site condition. Choose a test that matches the risk and record the result before full installation.

This guide supports the product selector and joint-failure diagnosis. It does not replace a manufacturer’s project-testing programme, structural-glazing review, fire test or specification. Use the exact procedure required by the current TDS, standard and responsible designer.

List every material that touches the sealant

Name the base substrates and their finishes: powder-coated aluminium, painted render, glazed ceramic, uPVC, natural stone, membrane, gasket or existing sealant are more useful than “window” or “wall.” Record manufacturer, coating system, age and condition where available. A test on bare aluminium does not answer adhesion to a powder coat, and one stone sample may not represent another finish or quarry.

Include materials near the bead even if they are not bonding faces. Plasticisers, oils, bitumen, cleaners, tapes, primers and backing can migrate or interfere with cure. Ask whether staining, corrosion, colour change, softening or loss of adhesion is the risk. This inventory defines the specimens and prevents a narrow pull check from being misreported as universal compatibility.

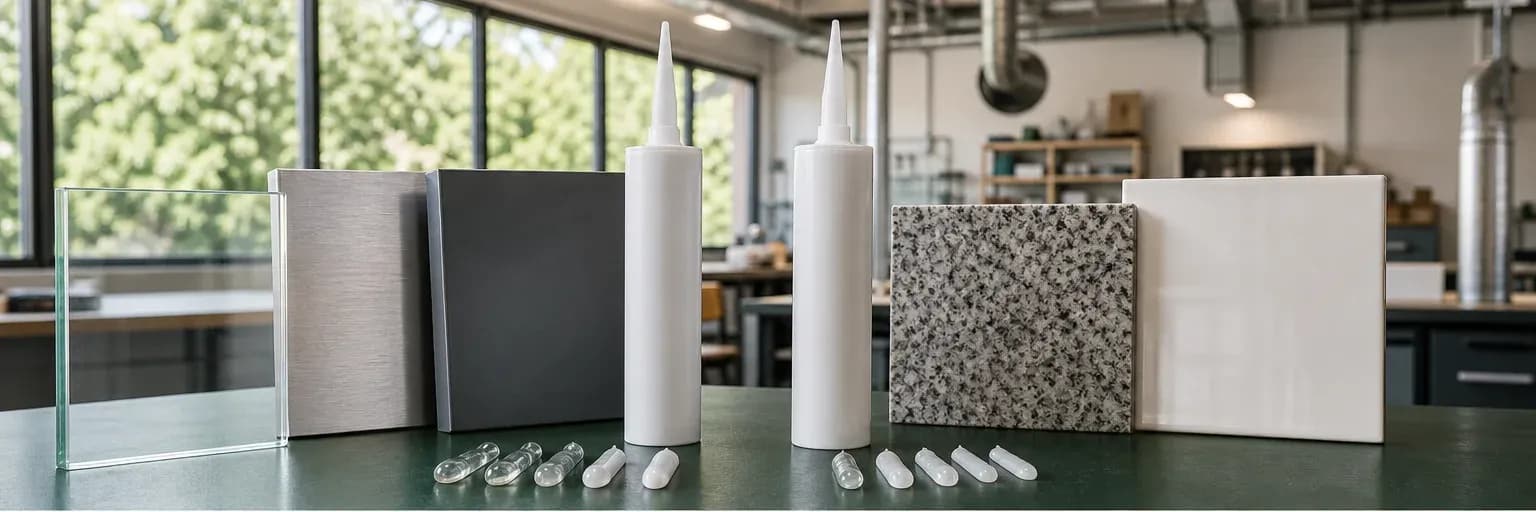
Coated aluminium, glass, stone, plastic and membrane coupons labelled before sealant testing
A useful test begins with exact material identity, including coatings and adjacent components that a generic substrate name hides.

Decide what the test needs to prove

A small site patch may answer whether the planned preparation creates initial adhesion on an ordinary surface. A preconstruction laboratory programme may examine adhesion after water or UV exposure, primer selection, staining, compatibility with gaskets or movement. Structural glazing and rated systems have specific qualification procedures. Choose the test from the consequence and specification, not from the easiest method.

Write the acceptance criteria before testing. “Looks good” is not reproducible. Criteria might include failure mode, minimum bonded length, absence of staining or comparison after a defined conditioning period. Use the manufacturer’s form or the project standard where provided. If no recognised procedure exists for a critical question, involve the responsible technical professional rather than inventing one.

Prepare the test exactly like the final work

Use representative, sound surfaces. Record cleaning method, tools, cleaner identity, drying, abrasion if permitted, primer, primer open time, backing and bead geometry. Apply the same product and batch proposed for installation. A test made on unusually polished material in a workshop may not reveal dust, weathering or coating variation on site, so representative sampling matters.

Do not use unapproved solvents or aggressive preparation merely to force a pass. The point is to validate the intended method. Protect the samples through the stated cure at recorded temperature and humidity. If the project will experience water, heat or another condition, include only conditioning specified by the approved test method; improvised exposure can create misleading conclusions and safety risks.

Different milestones occur at different times

Check where the sample fails

After the required curing or conditioning period, follow the specified cut, peel or pull method. Check whether separation occurs at the surface, through the sealant or within the substrate or coating. Separation from the surface can indicate preparation, primer or compatibility problems. Some screening methods expect the sealant itself to tear, so judge the result against the stated criteria.

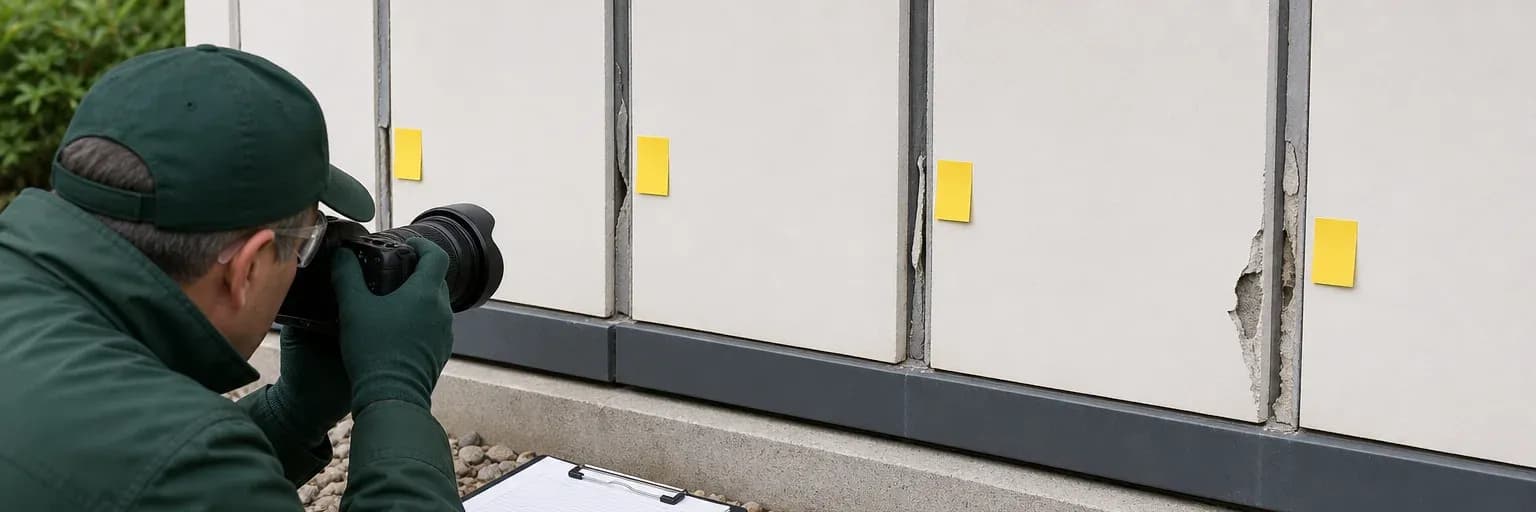
Record photographs and the approximate extent of each failure type. A strong pull that removes weak paint demonstrates the coating is the limiting layer; it does not prove the whole façade substrate is acceptable. Likewise, initial adhesion on a dry coupon does not establish long-term weather or movement performance. Use the failure-mode guide for terminology without converting it into a test standard.

Read where the joint separated

Check for staining and other compatibility problems

Check cure, tack, hardness change, discolouration, staining halos, softening and interaction with adjacent materials over the required period. Natural stone and porous finishes may show migration outside the bead. Plastics, gaskets and existing sealants can exchange components. A sealant that remains attached but damages or stains the substrate has not passed a compatibility question.

Use control specimens where the formal procedure requires them and inspect both sides or cut sections when appropriate. Do not attempt to clean a developing stain before it is recorded. If interaction appears, consult the sealant and substrate manufacturers; switching primer alone may not solve it. A different product, joint isolation or material may be required.

Include primer in the test

Test unprimed and specified primed conditions only when the manufacturer’s programme calls for comparison. Primer can improve adhesion on a particular surface, but the correct film, drying and open time are essential. Too much primer, contamination or application outside its window can create a weak layer. Never generalise one primer across sealant families or unknown substrates.

Record primer product, batch and application. If a pass depends on primer, the site quality plan must reproduce that step and protect prepared surfaces. A later change in coating, cleaner or primer requires review and possibly retesting. “Primer used” is not enough traceability when a failure investigation needs to know which system was installed.

Record exactly what the result covers

A test report should identify product, batch, substrate, coating, preparation, primer, geometry, cure, conditioning, method, observations, date and reviewer. State what was not tested. The conclusion applies to that combination; it should not be extended to another colour, formulation, coating, stone, plastic or exposure without technical justification.

Before installation, compare the delivered materials with the test record. During work, carry out any field adhesion checks required by the specification and record their locations. If a material or process changes, stop and assess the change. For Pereseal products, bring samples of the actual surfaces and the current product documents to the technical team.

List the accepted material manufacturer, finish, colour, cleaning method, primer and sealant batch or formulation on the test record. Procurement and site teams then have an objective trigger for review. Without that traceability, a successful sample can be incorrectly carried across to a visibly similar but chemically different production surface.

Decision aid

Choose the right level of testing

Common surface and low-risk use

Follow the TDS and manufacturer’s field patch method, recording the actual substrate, preparation, primer, cure conditions, observation period and failure plane.

Coating, plastic or stone is uncertain

Add compatibility, migration and staining observations using representative production samples, the proposed cleaning method and manufacturer-approved cure conditions.

Façade, glazing or large project

Use the specified preconstruction and field quality programme with documented sample identity, acceptance criteria, reviewers, validity limits and change control.

Fire-rated or safety-critical system

Use only the formal qualification required by the system, applicable standard and responsible professional; an informal site patch alone is insufficient evidence.

Evidence

Primary sources used

  1. ASTM C1193-25 — Standard Guide for Use of Joint SealantsASTM International

    General joint-design, substrate-preparation, backing, primer, installation, environmental and maintenance considerations; explicitly excludes structural glazing.

    Accessed 16 July 2026
  2. ASTM Committee C24.10 active standardsASTM International

    Current status and scope relationships among C834, C920, C1193 and structural-glazing guidance.

    Accessed 16 July 2026
  3. Joint sealants for building and civil engineeringSika

    General explanation of joint dimensioning, backing rods, three-sided adhesion, substrate condition and application workflow; not Pereseal-specific evidence.

    Accessed 16 July 2026

Next step

Bring samples of the actual materials

Identify both surfaces, coatings, nearby materials, exposure and required proof before asking which product and test to use.

Contact the technical team

Keep learning

Related evidence-led guides