Short answer
What to know first
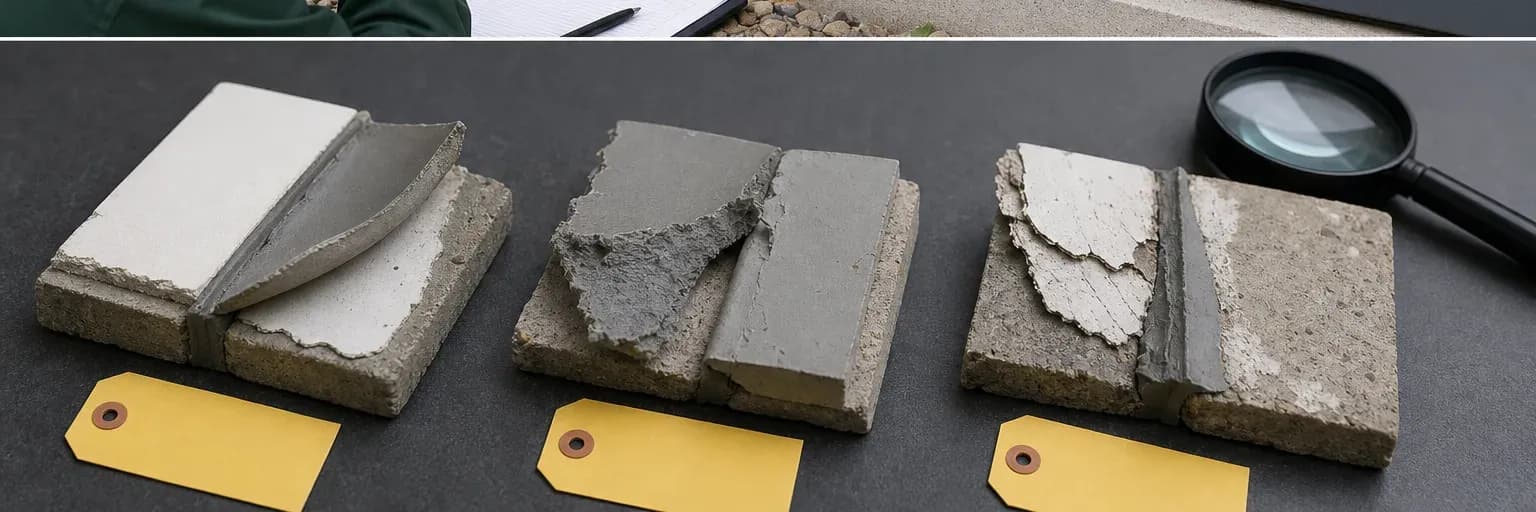
Identify where the joint failed before blaming the product or applying another layer. Separation at an edge points toward adhesion, preparation, primer, compatibility or excessive movement; tearing through the bead points toward strain, geometry, cure or material damage; broken substrate points toward a weak base. Bubbles, staining and mould add clues about moisture, contamination and adjacent materials. Significant failures need records, current documents and project-specific review.
A failed bead contains clues about the joint’s materials, design, preparation, application and use. Covering it too quickly destroys those clues and often repeats the problem. Start with photographs, location, age, product and weather or water history, then check where it failed and inspect both bonding surfaces.
Use this guide with the application and joint design guides and the relevant application page. A photograph alone cannot diagnose structural movement, hidden leaks or a rated assembly. Protect the area and involve the responsible professional when a failure could have serious consequences.
Record the evidence before removing the sealant
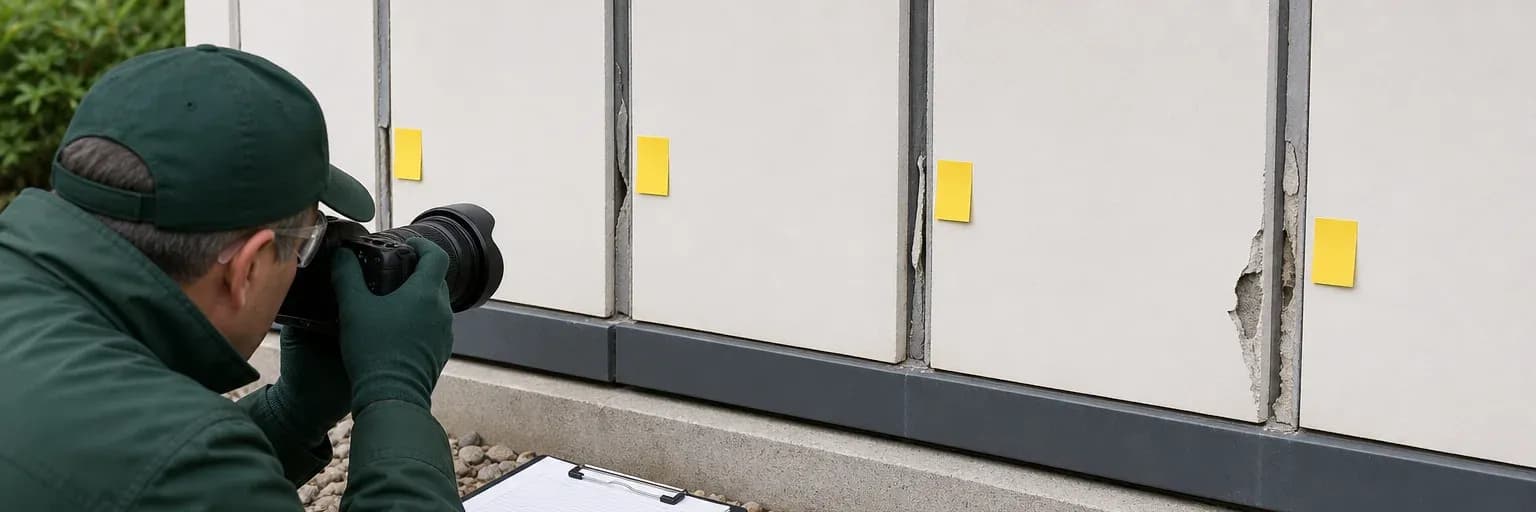
Photograph the complete run and close details with a scale. Note orientation, substrates and coatings, joint dimensions, backing where visible, installation date, product/batch, primer, weather, cleaning and when symptoms began. Record whether the defect is local, repeated at intervals or continuous. A pattern around corners or one elevation can reveal movement or exposure that a cropped close-up hides.
Retain the current TDS, SDS, specification and installation records. For significant work, agree on sampling before cutting the joint because removal changes the failure surfaces. Do not contaminate the area with cleaner or new material before inspection. If water ingress, falling material, fire compartmentation or another safety function is involved, implement the project’s temporary protection and escalation process first.

Adhesive failure happens at the surface
When sealant separates cleanly from one side, investigate that interface. Dust, laitance, oil, moisture, old sealant, cleaning residue or a weak coating may have prevented contact. The product may be incompatible with the substrate, the primer may be missing or mishandled, or movement may have exceeded the bond. A clean-looking face is not proof of one single cause.
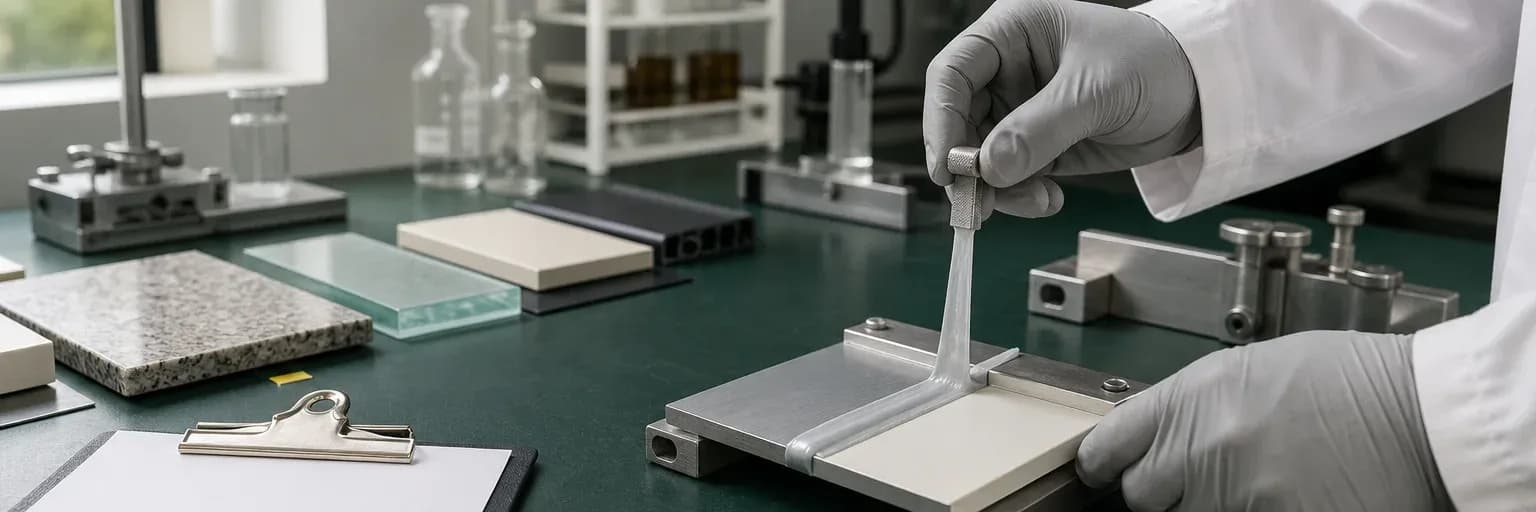
Compare the failed and sound areas. Did the problem follow one substrate, batch, elevation or preparation sequence? Check whether the sealant was gunned against the side or merely bridged the opening. Review the current TDS and any preconstruction adhesion tests. A repair should correct the interface and geometry; applying new material over the detached surface does not restore the missing bond.
Cohesive failure means the sealant itself has torn
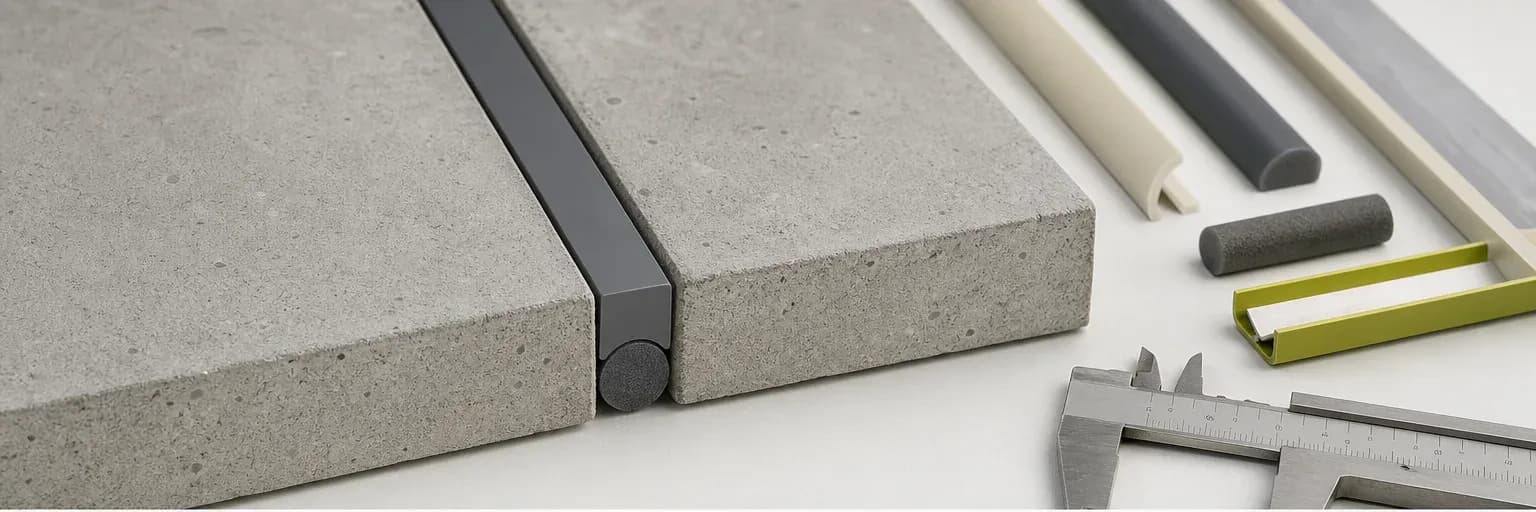
A tear within the bead means adhesion held at least where inspected, but the material or cross-section could not tolerate the condition. Potential contributors include movement beyond the designed range, a joint installed too narrow, three-sided adhesion, a thin or nicked section, incomplete cure, chemical attack or an unsuitable product. The tear direction and repeated location can help distinguish concentrated strain from random damage.
Do not conclude that higher quoted strength alone is the answer. A stiffer sealant can transfer more stress to the bond or substrate, and movement capability depends on the tested product and geometry. Recalculate expected movement, installation width and depth, then check backing and exposure. The repair may require redesigning the joint rather than substituting a cartridge into the same opening.
Substrate failure means the surface has broken
If concrete, render, paint, grout or another surface remains attached to the removed sealant, the immediate failure plane lies within that substrate or coating. The bond may be stronger than the weak layer, but the joint has still failed. Laitance, unsound edges, poorly bonded paint, water damage and low-strength repair material are common issues to investigate.
Preparing only the remaining loose surface will repeat the problem. Determine how far unsound material extends and what repair is compatible with the assembly and sealant. Coatings may need their own adhesion and cure confirmation. Structural cracking, spalling or continuing water damage should be assessed by the responsible building professional before a sealant repair is designed.
Bubbles, soft sealant and stains suggest application or compatibility problems
Bubbles can arise from air trapped during gunning, gas from damaged backing, moisture or substrate outgassing, or material applied under unsuitable conditions. Soft or uncured zones can point toward excessive depth, expired or damaged product, contamination or inhibited cure. These observations require the product, batch, bead section and environmental history; they cannot be resolved by surface appearance alone.
Staining or discolouration may involve migration from stone, bitumen, gaskets, cleaners, adjacent sealants or coatings, as well as environmental deposits. Test reports and compatibility work should be reviewed before proposing removal or cleaning. Aggressive treatment may spread the stain or damage the surface. The compatibility-testing guide explains why a small mock-up can expose interactions before full installation.
Diagnose mould and leaks separately
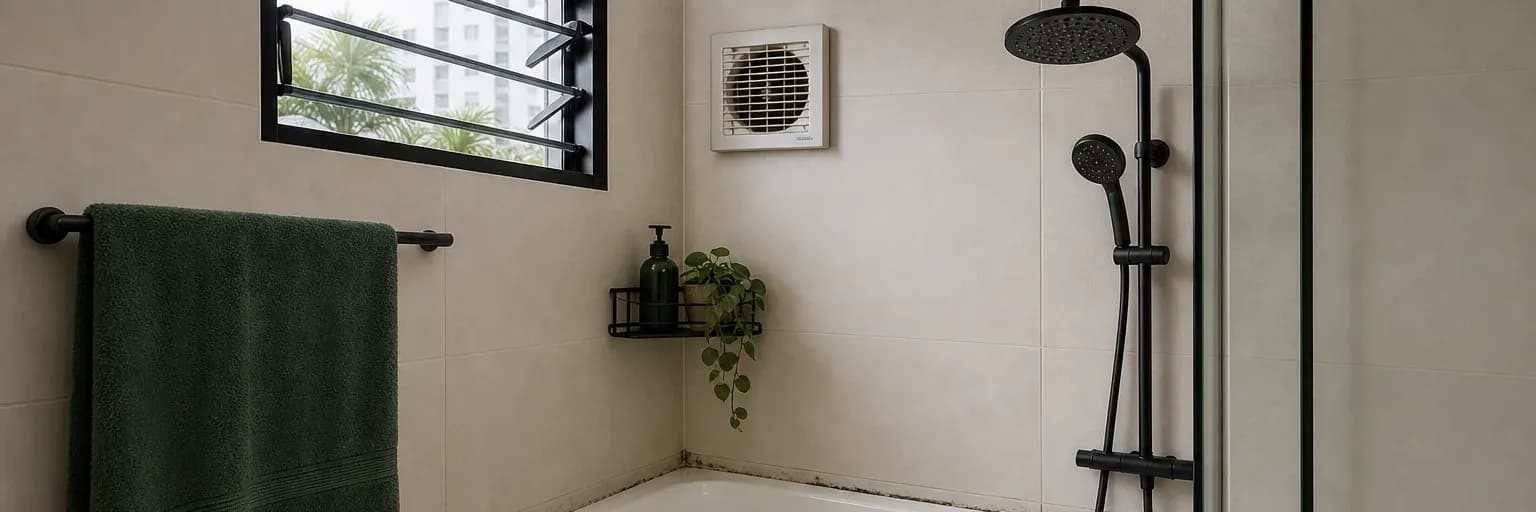
Dark growth on the exposed surface often reflects persistent moisture and organic deposits; growth behind a lifted bead indicates water reached the interface. A sanitary additive does not repair poor drainage, ventilation, leaking plumbing or damaged waterproofing. Check whether the bead is still bonded and whether the surrounding substrate dries. Repeated rapid return after replacement is a reason to look beyond product selection.
For ordinary bathroom perimeters, use why bathroom silicone turns black and the replacement workflow. For exterior or construction joints, include drainage, movement and maintenance history. Fire-rated, structural-glazing, submerged, traffic-bearing or widespread façade failures require specialist investigation and applicable test/system documents rather than a generic online repair.
Trace the timing and route of moisture before replacement. Note rainfall, shower use, condensation, plumbing events, ventilation and whether staining begins on the face or behind the bead. Inspect adjacent grout, membranes, drainage paths, frame weeps and substrate movement. A controlled water investigation may require a building-envelope or wet-area specialist; indiscriminate hosing can create false paths. Once the cause is understood, document whether the sealant is the failed barrier, a symptom of another defect or both. Correct the assembly and drying conditions before installing a compatible replacement, then preserve photographs so recurrence can be compared with the original pattern.
Decide how long to monitor the repair and who will check it. A joint that looks dry immediately after tooling does not prove that a hidden moisture path has been fixed. Recheck it after normal use or weather, but do not expose the fresh sealant too soon.
Decision aid
Start with where the joint failed
Sealant has separated from one edge
Check that surface for contamination, poor preparation, primer, compatibility, incomplete contact and excessive movement.
Tear through the bead
Review movement, installed dimensions, backing, cure, exposure and physical damage before changing product.
Substrate attached to sealant
Repair the weak coating or base material and diagnose moisture or cracking before resealing the joint.
Rated, widespread or water-critical failure
Preserve evidence, provide temporary protection and involve the designer, manufacturer or responsible specialist.
Evidence
Primary sources used
- ASTM C1193-25 — Standard Guide for Use of Joint SealantsASTM International
General joint-design, substrate-preparation, backing, primer, installation, environmental and maintenance considerations; explicitly excludes structural glazing.
Accessed 16 July 2026 - FAQ and technical bulletinsBostik Singapore
General industry guidance on backing rods, joint dimensions, primers, paint cracking, inspection and sealant terminology; not evidence for Pereseal product performance.
Accessed 16 July 2026 - Joint sealants for building and civil engineeringSika
General explanation of joint dimensioning, backing rods, three-sided adhesion, substrate condition and application workflow; not Pereseal-specific evidence.
Accessed 16 July 2026
Next step
Bring photos, samples and product documents
Record both surfaces, where the joint failed, its dimensions, the product and its service history before asking for a repair recommendation.
Contact the technical team