
Inspection & maintenance

How to inspect and maintain exterior sealant joints

Learn how to inspect exterior joints safely, recognise failure patterns and decide between local repair and full replacement.

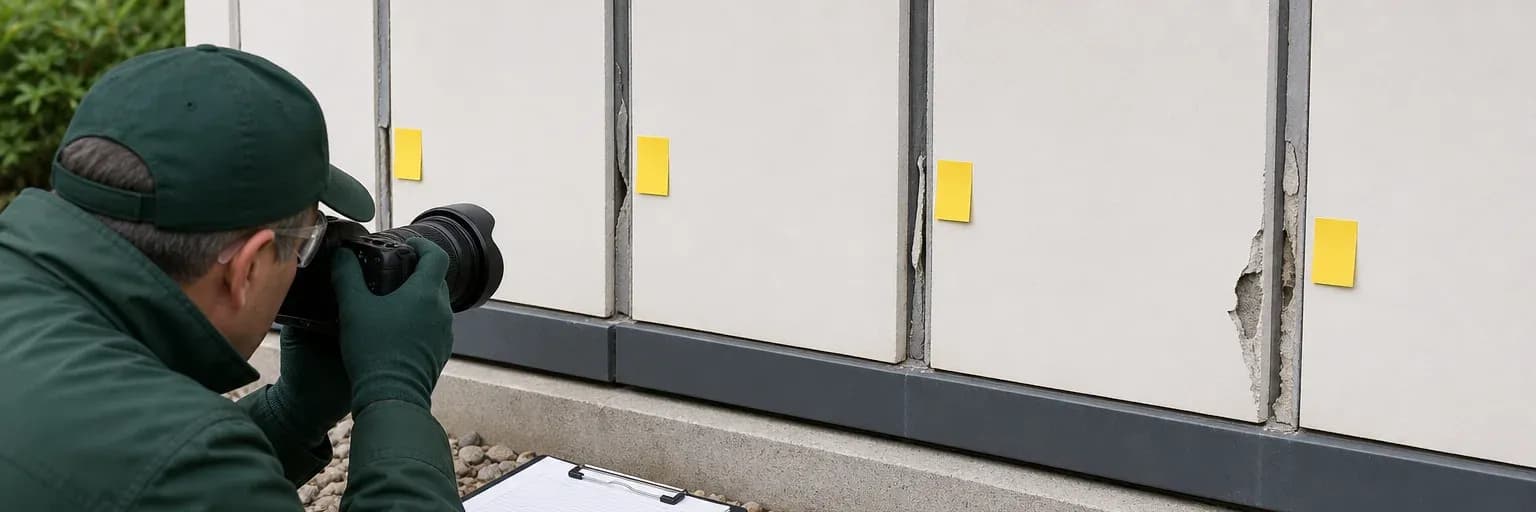
Building façade perimeter joints being photographed and recorded from a safe access platform
A useful inspection follows complete joint runs and compares patterns over time; one close-up cannot represent an elevation.

Short answer

What to know first

Inspect exterior joints on a planned cycle and after unusual movement, façade work or severe exposure. From a safe accessible position, record cracks, edge separation, cohesive tears, hardening, softening, staining, water paths and substrate damage across the whole run. Compare findings with earlier photographs and current documents. Local defects may permit an approved repair, but widespread ageing, incompatible old material, concealed water or safety-critical façade conditions require specialist investigation and a replacement plan.

Exterior sealant is a maintainable building component. UV, rain, heat, movement, cleaning and adjacent-material changes accumulate over its service life. Localised defects can become water paths, while a superficially neat bead can hide separation at an edge. Planned inspection makes replacement predictable and preserves evidence before emergency patching obscures it.

Use this guide with the exterior weatherproofing page, joint-failure guide and Pereseal N or 802 product information. It does not authorise rope access or façade repair. Safe access and building-specific professional review come first.

Plan safe inspections at suitable intervals

Create an asset map of joint types, elevations, orientations, substrates, products and installation dates. Set a baseline inspection after installation, then a frequency based on exposure, consequence and prior condition. Add event-driven checks after façade cleaning, nearby works, impact, unusual movement or water complaints. A fixed annual date can be useful, but identical frequency is not appropriate for every joint.

Inspect only from designed safe access using competent personnel. Do not lean from windows, climb façades or improvise work at height for a closer photograph. Coordinate access, exclusion zones and weather. Where full access is not immediately available, record limitations and use safe remote imagery as screening; it cannot replace tactile or dimensional checks required by the maintenance plan.

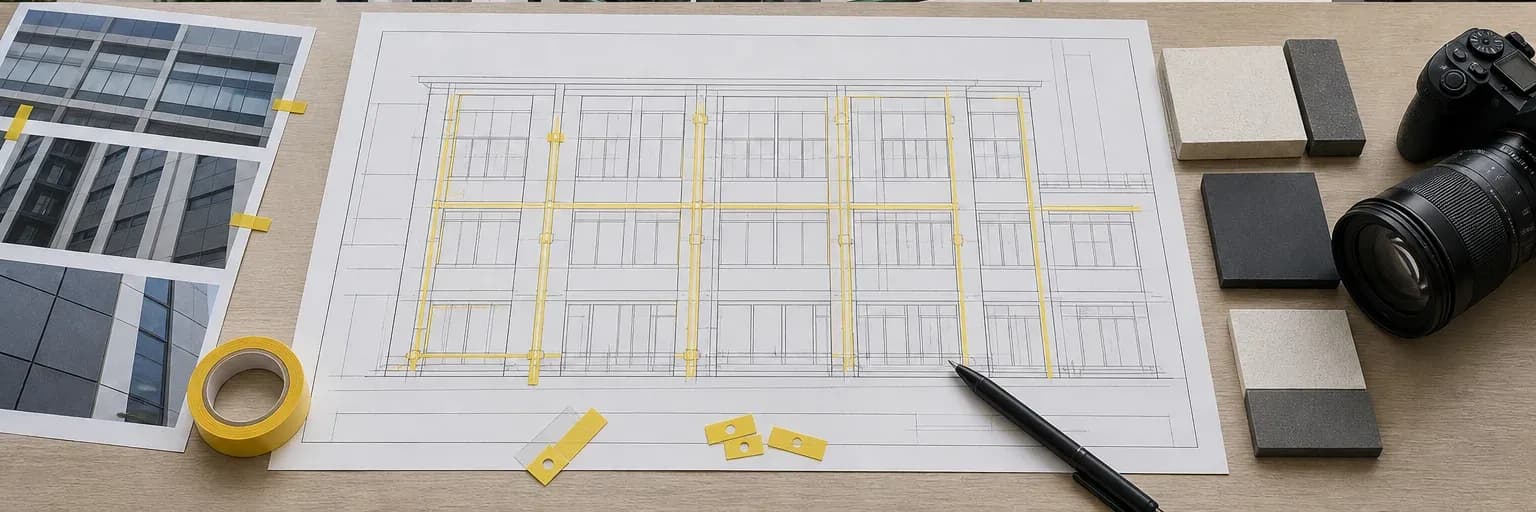
Façade elevation map with joint runs, orientations and numbered inspection locations
Mapping locations and orientations makes recurring defects visible and allows later inspections to compare the same joint segments.

Record the full pattern before touching defects

Photograph elevation context, full joint runs and close details with location and scale. Note weather, recent rain, surface temperature where relevant, joint width, adjacent damage and whether the condition is isolated or repeated. Compare shaded and sun-exposed faces, corners, sill ends and material transitions. Repetition at panels or anchors can indicate movement patterns rather than random workmanship.

Do not clean, cut or overlay the area before evidence is captured. Retain installation records, product/batch, TDS, primers, backing and previous repairs. Water testing or destructive investigation should follow an agreed method because it can alter conditions and introduce water. For significant façade leakage, coordinate the envelope consultant, designer, contractor and sealant manufacturer as appropriate.

Look for bond failure, sealant tears and damaged surfaces

Edge separation is adhesive failure at a bonding face; investigate contamination, primer, compatibility, weak coating, gunning contact and movement. A tear through the bead is cohesive failure; investigate installed width/depth, three-sided adhesion, cure, exposure and strain. Material attached to the sealant can reveal substrate or coating failure. Several failure planes may coexist along one run.

Use the failure diagnosis guide for terminology and preserve samples where the project requires analysis. Do not conclude that a harder or higher-strength sealant will fix the condition. A stiffer replacement can transfer greater stress to the same weak edge. The repair must address movement, geometry and substrate as well as chemistry.

Mark each observed mode on the elevation rather than grouping everything as “cracked sealant.” Quantifying locations and orientations reveals whether failure follows one coating, panel type, corner or exposure. That pattern is more useful to a designer or manufacturer than a bag of unlabelled removed material.

Read where the joint separated

Check weathering, dirt and nearby materials

Check chalking, cracking, hardening, softening, colour change, surface crazing, dirt pickup and loss of elasticity. Some appearance change may not mean functional failure, while a nearly invisible edge gap may admit water. Evaluate function and material condition separately. Inspect gaskets, coatings, membranes, stone, metal corrosion and drainage because they can cause or amplify a sealant symptom.

Staining can involve migration from bitumen, gaskets, cleaners or old sealants. Aggressive cleaning may spread it or damage the bead. Use compatible maintenance methods and record trials. If the installed product is unknown, sampling and compatibility review are needed before adding new material. Applying a different chemistry against residue can produce another interface failure.

Trace leaks beyond the visible bead

Water may enter at one location and appear elsewhere through cavities, frames and interfaces. Correlation with wind direction, rainfall and internal staining helps define the investigation. A failed perimeter seal is one possibility among flashings, gaskets, drainage, cracks and penetrations. Do not assume every leak is repaired by coating the nearest visible line.

Testing should follow a controlled building-envelope method and sequence, beginning with observation and the least disruptive steps. Uncontrolled hosing can overwhelm drainage or create misleading paths. Protect interiors and document conditions. If the sealant is implicated, identify the failure plane and surrounding detail before deciding whether a local repair can restore continuity.

Pair internal observations with exterior location drawings and time-stamped weather information. If finishes must be opened, agree the sequence and make-good plan first. Preserving the path and layer relationships during investigation prevents the work itself from destroying evidence or creating a new route.

Use local repairs only when the affected area and compatibility are clear

A local repair may be appropriate for isolated damage where adjacent sealant remains sound, the substrate can be prepared and the manufacturer provides a compatible tie-in method. Define how far to remove, how new material terminates and how old/new compatibility is confirmed. A thin surface smear over a crack or detached edge is not a controlled repair.

Widespread hardening, repeated bond loss, unknown material, inaccessible backing or repeated joint-shape problems usually favour planned replacement. Partial work can leave many future repairs and repeated access costs. Prepare a mock-up, agree the appearance and test adhesion on representative surfaces. The compatibility-testing guide explains how to choose a suitable test.

Inspect beyond the visible defect and agree on how the finished repair will be checked. Record the new product, primer, preparation, repair length and batch at the mapped location. Without those details, the patch becomes another unknown material at the next inspection.

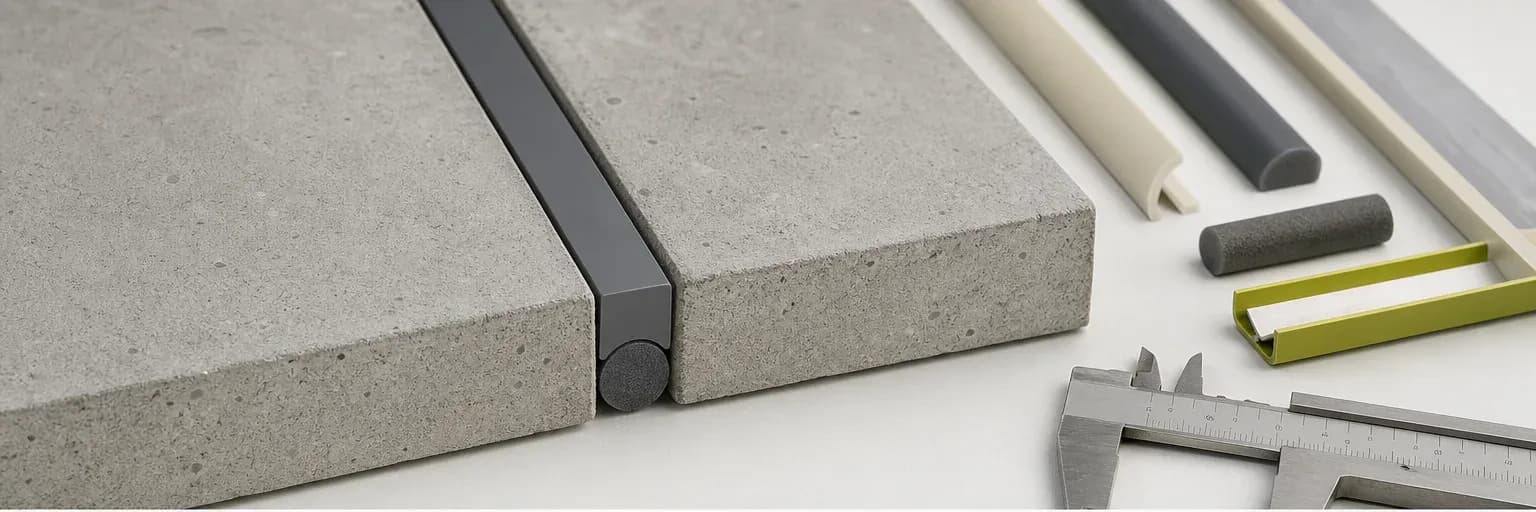
A movement joint needs two bonding faces

Plan for replacement and future inspections

For replacement, remove material to expose suitable faces without damaging coatings or membranes. Repair weak edges, establish designed backing and depth, prepare and prime as approved, then apply under suitable conditions. Record product, batch, colour, primer, locations, weather and inspection. Keep a sample or test record where required. Update the asset map rather than leaving knowledge only with the installer.

Check Pereseal N for neutral-cure weatherproofing and 802 for suitable acetoxy glazing and non-porous top seals. Neither is a universal façade or structural-glazing product. Confirm both surfaces, movement and exposure in the current TDS. Schedule the next inspection at handover so maintenance starts from a known condition.

Set the next inspection date and name the person or team responsible for it.

Decision aid

What to do after inspection

Sound joint with surface ageing only

Record and monitor against the baseline; use only compatible maintenance and keep drainage/adjacent materials under review.

Isolated impact or local edge defect

Investigate the failure plane and use a manufacturer-approved local repair with proven old/new compatibility.

Repeated or widespread failure

Plan system investigation and replacement, including movement, geometry, substrate, backing and access—not a series of patches.

Leak, façade or access risk

Protect the area and involve competent building-envelope and access professionals before testing or repair.

Evidence

Primary sources used

  1. ASTM C1193-25 — Standard Guide for Use of Joint SealantsASTM International

    General joint-design, substrate-preparation, backing, primer, installation, environmental and maintenance considerations; explicitly excludes structural glazing.

    Accessed 16 July 2026
  2. FAQ and technical bulletinsBostik Singapore

    General industry guidance on backing rods, joint dimensions, primers, paint cracking, inspection and sealant terminology; not evidence for Pereseal product performance.

    Accessed 16 July 2026
  3. Joint sealants for building and civil engineeringSika

    General explanation of joint dimensioning, backing rods, three-sided adhesion, substrate condition and application workflow; not Pereseal-specific evidence.

    Accessed 16 July 2026

Next step

Bring a joint map and photos of the failure

Use the exterior application page to compare Pereseal products after recording both surfaces, movement, exposure and the extent of repair.

Review exterior sealing

Related documents

Read the product evidence beside the guide

Technical data sheetEN

Pereseal N TDS

Technical datasheet for Pereseal N neutral cure silicone.

Technical data sheetEN

Pereseal 802 TDS

Technical datasheet for Pereseal 802 silicone sealant.

Relevant starting points

Products mentioned in this guide

These are selection starting points. Confirm suitability in current product documentation.

Neutral silicone

Pereseal N Weatherproof Neutral Seal Silicone

Product details
Glass and metal silicone

Pereseal 802 High Performance Silicone Sealant

Product details

Keep learning

Related evidence-led guides