Application technique

How to apply sealant: preparation, gunning and tooling

Follow a product-specific process for checking the joint, preparing sound surfaces, fitting backing, applying, tooling and protecting the sealant.

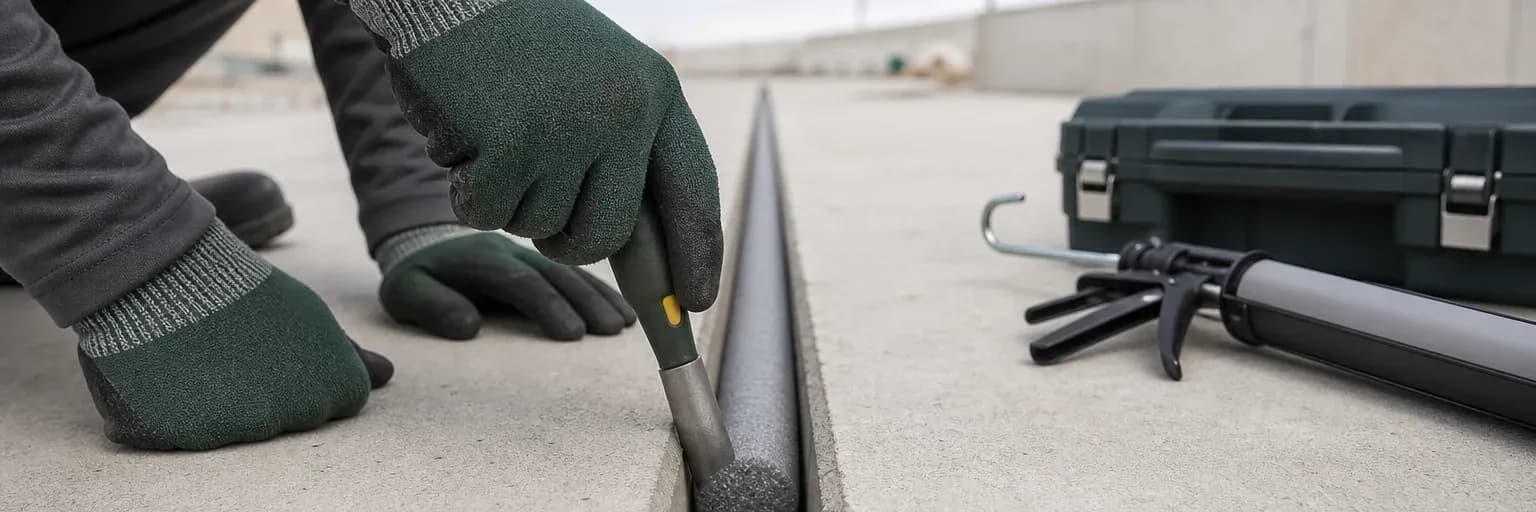
Gloved installer preparing a clean construction joint with a cartridge gun and backing materials nearby
The durable part of an application is largely decided by the joint check, preparation and cure plan completed before the bead is visible.

Short answer

What to know first

A reliable seal starts before gunning: confirm the product and joint detail, read the current TDS and SDS, remove incompatible material, prepare sound dry bonding faces, place backing where the design requires it, then fill without voids and tool within the product’s working time. Protect the bead for the full product-specific cure conditions; a surface skin is not full cure.

Good gun control cannot compensate for the wrong product, weak substrate or badly designed joint. The application sequence is a chain: product selection, document review, surface preparation, backing and geometry, placement, tooling, cure protection and final inspection. A break at any stage can appear later as adhesion loss, cracking, staining or leakage.

This workflow is intentionally general. It links to joint-design basics and failure diagnosis, but the current TDS and SDS supply the actual temperatures, primers, cleaners, working time, cure conditions and safety controls for the chosen product.

Check the product, joint and instructions

Record the product name, batch where relevant, both substrates, joint dimensions, exposure, expected movement and finish. Confirm that the current TDS lists the intended use and does not exclude either surface or condition. Read the SDS before handling so ventilation, protective equipment, first-aid, storage and disposal are planned rather than improvised after material is open.

Inspect the cartridge or sausage and its packaging. Do not use a damaged, leaking, hardened or unidentifiable pack. Check the manufacturer’s shelf-life and storage statement rather than assuming an unopened cartridge remains usable indefinitely. For fire, structural glazing, immersion or another rated system, confirm the complete approved detail before work begins.

Turn the review into a short pre-start record for the actual work area. Include product code and colour, batch, current TDS/SDS revision, two substrates, primer or cleaner, width/depth, backing, ambient conditions, cure protection and an approved sample. Check that the dispensing gun and nozzle suit the pack and bead. For rated, façade, glazing, immersion, food-contact or safety-critical work, attach the project-specific approval rather than relying on this general workflow. A documented stop before opening the pack is far cheaper than removing a continuous run installed against the wrong surface or detail.

Brief the applicator on the first inspection location and the conditions that require work to stop. Keep replacement nozzles, approved cleaning materials and waste controls ready so the documented method remains practical throughout the run.

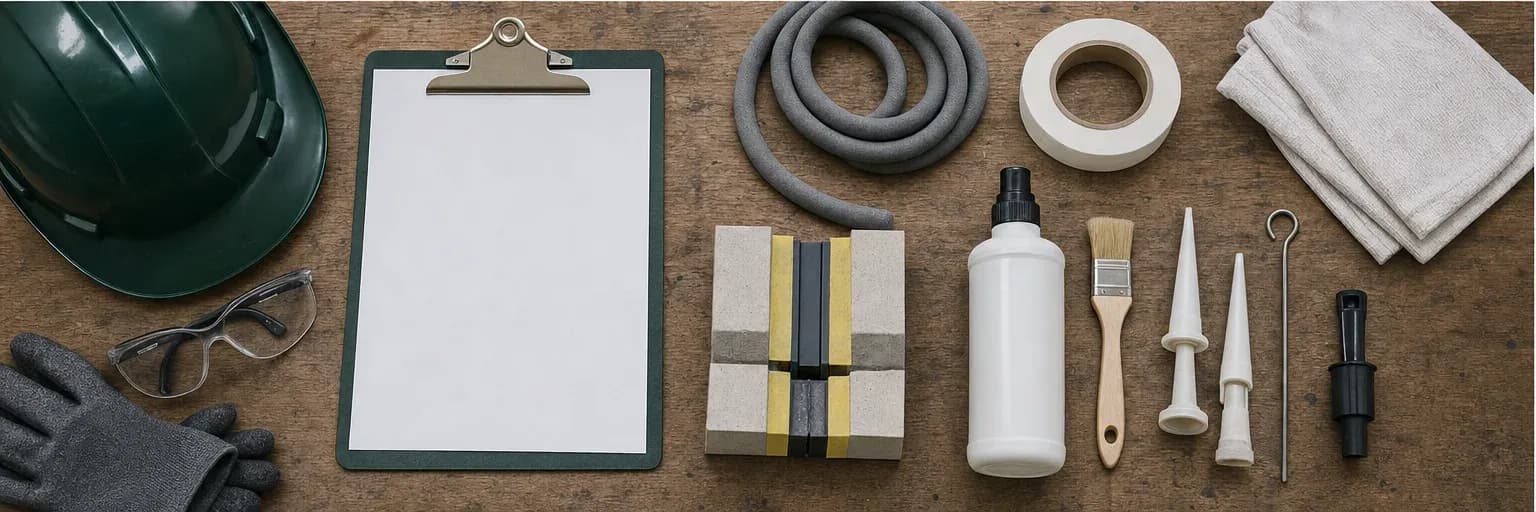
Technical data sheet, safety data sheet, cartridge gun and joint inspection notes arranged beside a prepared work area
Product identity, documents and the actual joint conditions should agree before preparation starts; the gun is not the first decision.

Remove failed sealant and expose sound surfaces

Where a joint is being renewed, remove the old bead to the extent required by the repair specification. Avoid damaging waterproofing, coatings, frames or soft substrates. Residual incompatible sealant can interrupt adhesion, and a thin overlay can hide water or contamination behind the existing line. If the substrate crumbles, remains damp or moves unexpectedly, pause and address the cause.

Mechanical removal methods and tools must suit the surface. Do not adopt a universal blade, abrasive or solvent recommendation from a generic guide. The product instructions, substrate manufacturer and SDS control what may safely contact the materials. Collect debris and keep it away from the clean bonding faces rather than pushing residue deeper into the joint.

Clean and dry the joint; use primer only when specified

The bonding faces should be sound and free of dust, loose material, oil, release agents, soap film, old sealant and other contamination. “Looks clean” is not an adhesion test. Porous masonry may carry laitance or dust; metal may hold oil; bathroom edges may retain cleaner and moisture. Prepare each face using a method permitted by the product and substrate documents.

Primer is neither automatically required nor automatically unnecessary. Its role and drying window depend on the sealant, substrate and exposure. Using the wrong primer, applying sealant too soon or allowing the primed surface to exceed its open time can create another failure path. Record the primer and preparation method on significant work so later inspection has a traceable basis.

Fit backing and masking without contaminating the joint

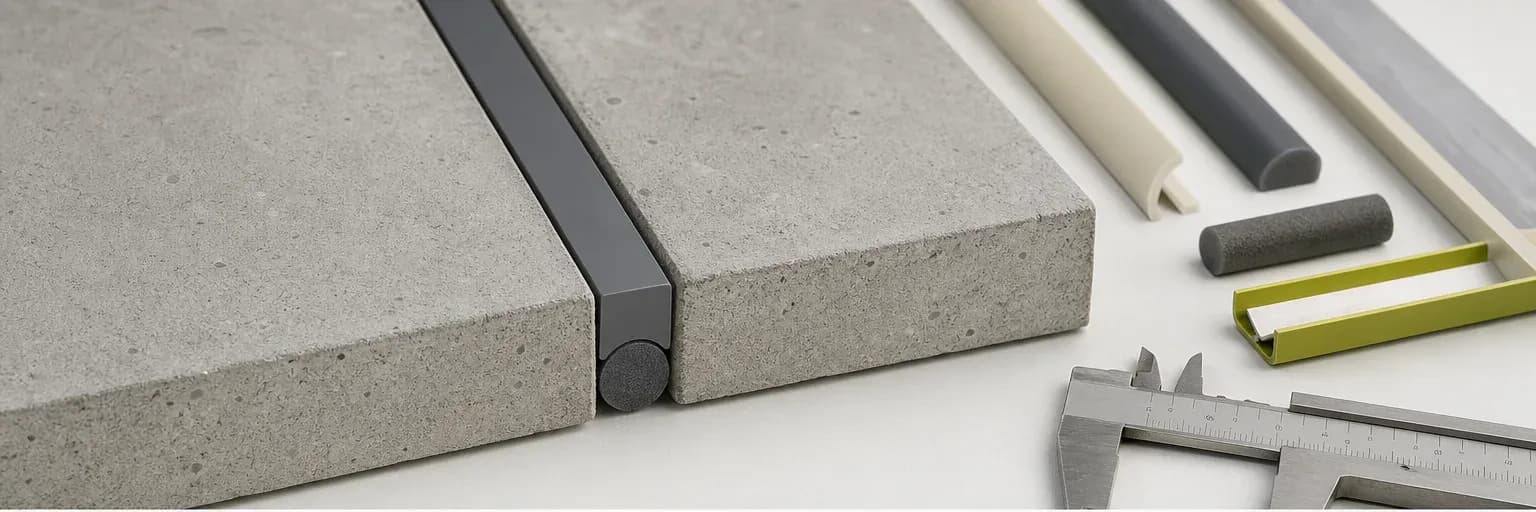
Backing rod or bond-breaker tape may be used to control depth, support tooling and prevent adhesion to the back of a movement joint. Select the type and size from the project or manufacturer guidance. Forcing an unsuitable rod into place can damage it or distort the joint. Do not puncture closed-cell backing, and do not use improvised absorbent filler where the detail requires a defined accessory.

Masking can protect adjacent finishes and produce a clean edge, but tape should not cover the intended bonding face. Apply it after preparation and remove it within the product’s working sequence before the surface has cured around the tape. The backer rod guide explains why backing is part of geometry rather than a way to save material.

A movement joint needs two bonding faces

Apply a continuous bead and tool it promptly

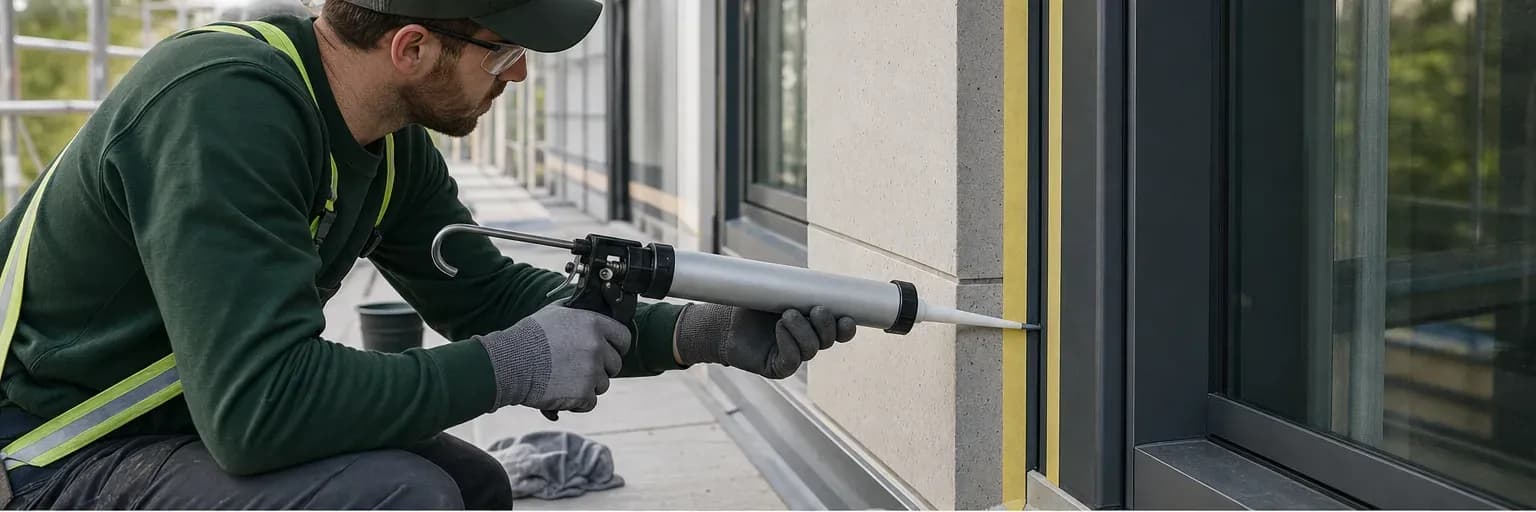
Cut the nozzle to suit the joint and load the gun securely. Apply steady pressure so material contacts both bonding faces and fills the designed cross-section without gaps or trapped air. Move at a pace that keeps the bead continuous. A cosmetic pass over the surface does not prove the material reached the sides or the required depth.

Tool using the method and tooling aid allowed by the product instructions. Tooling consolidates contact and shapes the exposed face; excessive removal can leave a thin centre or feathered edges. Avoid introducing unapproved liquids or detergents, which can contaminate the surface or interfere with cure and adhesion. Stop when the product’s tooling window has passed rather than repeatedly disturbing a skinning bead.

Protect the joint while it cures, then inspect it

Protect the fresh joint from water, dust, contact, movement and unsuitable temperature for the period stated in the TDS. Moisture-curing products often cure from the exposed surface inward; bead depth, temperature and humidity can change the time required. A dry-feeling skin or tack-free surface does not establish full-depth cure or readiness for immersion, loading or paint.

Inspect the line after application and again when the specified cure period has passed. Look for voids, edge loss, tearing, contamination and unintended contact. Document rated or critical work according to the project quality plan. If a defect is found, follow an approved repair method rather than smearing more material across it. The guide on sealant cure stages explains the timing terms.

Different milestones occur at different times

Decision aid

Checks before applying sealant

Proceed: the product suits the joint

Current documents cover the use, both faces are sound and prepared, geometry/accessories are defined, and the cure window can be protected.

Stop: a surface is damp, weak or dirty

Do not hide the condition with sealant; diagnose and correct the substrate or water source before continuing.

Stop: primer, cleaner or tooling aid is uncertain

Check the current TDS/SDS or technical representative instead of substituting an improvised chemical or generic internet recipe.

Stop: the detail is rated or safety-critical

Work only from the approved tested system, project specification and inspection plan; general website guidance is insufficient.

Evidence

Primary sources used

  1. ASTM C1193-25 — Standard Guide for Use of Joint SealantsASTM International

    General joint-design, substrate-preparation, backing, primer, installation, environmental and maintenance considerations; explicitly excludes structural glazing.

    Accessed 16 July 2026
  2. Joint sealants for building and civil engineeringSika

    General explanation of joint dimensioning, backing rods, three-sided adhesion, substrate condition and application workflow; not Pereseal-specific evidence.

    Accessed 16 July 2026
  3. Safety Data Sheets — mandatory 16-section formatOccupational Safety and Health Administration

    The standard SDS section structure and the distinction between hazard/handling information and product-performance data.

    Accessed 16 July 2026

Next step

Follow the current product instructions

Find the selected product’s TDS and SDS before deciding on preparation, primer, tooling or cure protection.

Open the technical library

Keep learning

Related evidence-led guides