Wet areas

Why does bathroom silicone turn black?

Separate surface mould, staining, growth behind a lifted bead and hidden water problems, then choose cleaning, replacement or investigation.

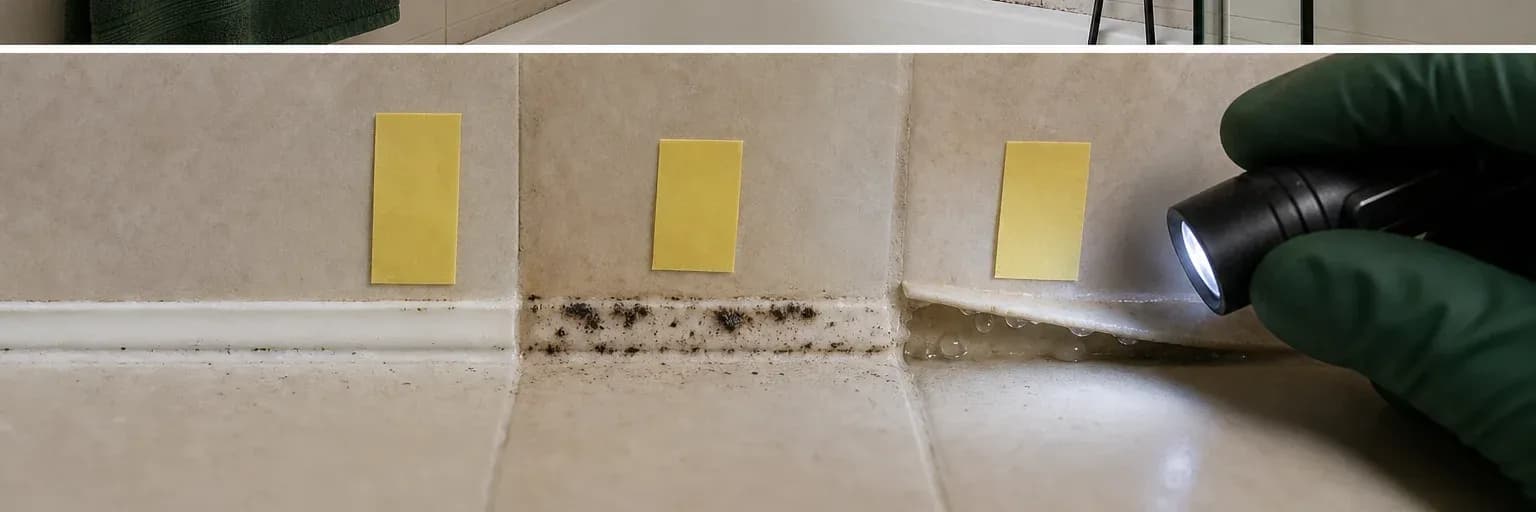
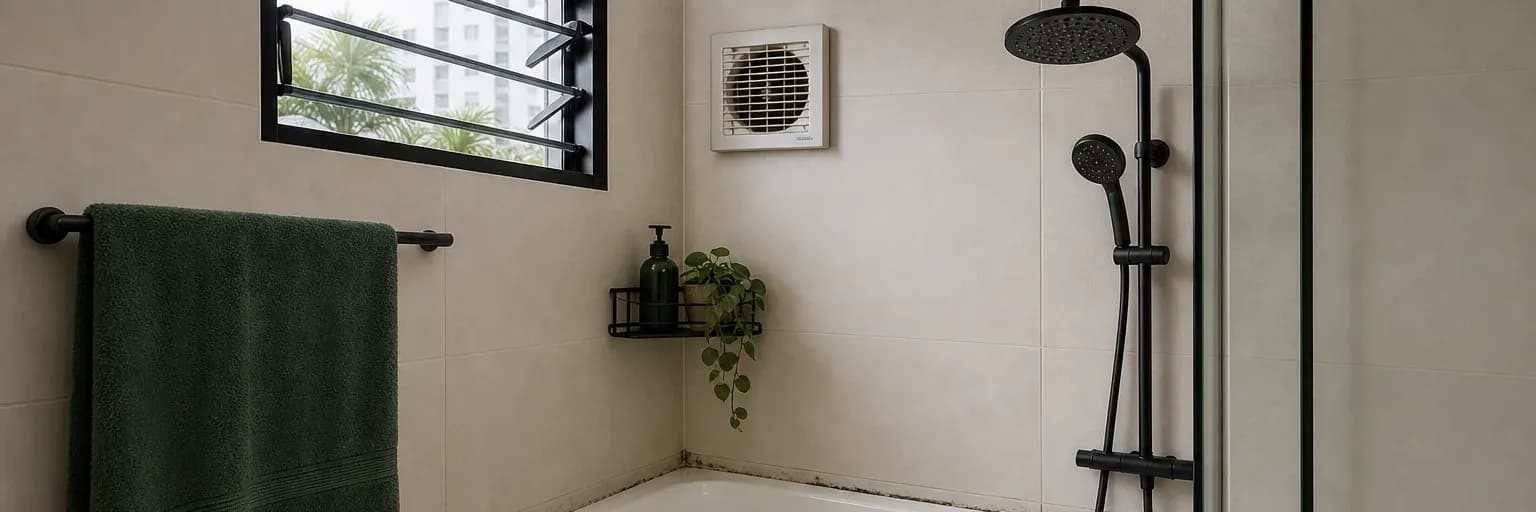
Bathroom corner with separate examples of surface specks and a dark line visible behind a lifted silicone edge
The location of dark growth matters: deposits on a bonded surface and contamination behind a failed edge require different responses.

Short answer

What to know first

Black marks are often mould growing on deposits at a persistently damp joint, but discolouration can also sit inside or behind silicone when water, contamination or adhesion failure is present. Check whether the bead is still bonded and whether the area dries. Compatible surface maintenance may help a sound joint; growth behind lifted edges, recurring rapid staining, leaks or damaged substrate calls for removal and diagnosis. Anti-fungal silicone is not mould-proof.

Bathrooms provide moisture, warmth and residues from soap and skin. Even a water-resistant bead can stay wet at corners or support deposits on its surface. Darkening is therefore not a simple test of product quality. Its pattern, depth, adhesion and relationship to water reveal whether maintenance, resealing or investigation behind the finish is appropriate.

Use this guide with the bathroom sealant selection and replacement guides. Pereseal AF is the range’s sanitary silicone, but anti-fungal protection does not replace moisture control, cleaning, ventilation or a sound joint.

Mould grows where moisture and dirt remain

Mould spores are common in indoor environments. Growth becomes a problem when moisture persists. Showering, cooking, leaks and condensation can keep bathroom surfaces damp; soap film, skin oils and dust provide material on top of the bead. The US EPA’s central guidance is moisture control: dry wet areas, address leaks and improve practical ventilation rather than relying only on repeated surface treatment.

Silicone itself may resist water, but the joint surface is not isolated from the room. Tooling shapes that hold droplets, corners with poor airflow and a bead beside porous grout can remain wet longer. An anti-fungal additive can inhibit growth on the cured sealant under intended conditions; it cannot remove deposits, drain standing water or correct a damp substrate.

Close-up of water droplets and soap residue collecting along a bathroom silicone joint before dark growth develops
Moisture retention and surface residue create the conditions for growth even when the underlying bead remains bonded.

Check whether marks are on, in or behind the sealant

Use good light and inspect the complete joint without cutting it. Surface specks or film on an otherwise smooth, bonded bead may be maintenance-related. Diffuse colour within clear or pale silicone can indicate staining or absorbed contamination. A dark line following a lifted edge, bubbles, water movement or an open split suggests material or moisture behind the seal.

Do not identify a mould species or health risk from colour alone. Black, pink, brown and orange marks can have different biological or chemical origins. If growth is extensive, occupants are vulnerable, or the source is uncertain, follow appropriate health and building guidance. The website’s role is to organise the joint diagnosis, not prescribe remediation from appearance.

Read where the joint separated

Look for poor ventilation, drainage and leaks

Observe how the area behaves after use. Does water pool against the bead, does condensation remain for hours, and is extraction operating effectively? Check plumbing fixtures, grout, screen channels and adjacent walls for leaks. A joint that never dries will challenge any surface protection. Correcting the source can be more important than selecting a cartridge with a stronger mould claim.

In Singapore’s humid climate, ventilation does not always mean simply opening a window; airflow and moisture removal must suit the room and weather. Dry accessible surfaces after use and keep drainage paths clear. Do not seal weep holes or intended drainage routes because they appear to be gaps. If water comes from behind finishes, obtain building or plumbing assessment before resealing.

Clean a sound joint with compatible products

For a bead that remains fully bonded and intact, use cleaning methods permitted by the sealant and adjacent surface manufacturers. Test an inconspicuous area where required, provide ventilation and follow product labels. Abrasive tools can roughen the surface and make future deposits easier to retain; strong chemicals can discolour, soften or damage sealant, grout, metal and stone.

This guide deliberately avoids a universal bleach, vinegar, solvent or mixed-chemical recipe. Household surfaces and sealant formulations differ, and combining cleaners can create hazardous reactions. Remove residue, rinse or dry as the approved product instructs, and improve the moisture condition. If the dark material remains within or behind the bead, surface treatment cannot reach the cause.

Let the area dry before replacing failed sealant

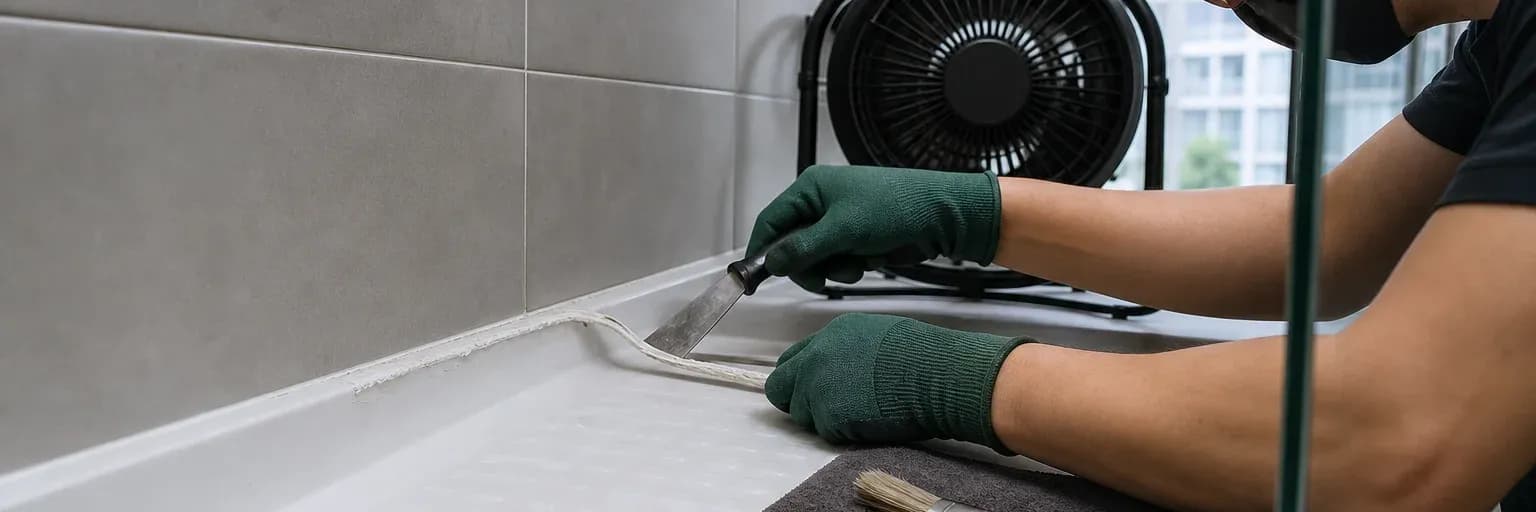
Loss of adhesion, splits, persistent deep contamination or growth behind the joint normally requires removal to expose the surfaces. Protect waterproofing and soft finishes during removal. If the opened joint is wet, soft, stained or actively leaking, stop and repair the cause. Applying new silicone over damp or contaminated faces can trap the same condition and weaken adhesion.

Use the bathroom replacement workflow for a conservative sequence. Select a compatible sanitary silicone, prepare the two faces, establish any required backing and protect the full product-specific cure before water contact. Do not apply new material as a thin cap over old silicone merely to hide the black line.

Build drying time into the room plan and verify concealed edges where access permits. Resealing over damp backing, saturated board or an active leak traps the condition out of view. Record the repaired moisture source and the dry prepared joint before the new bead is applied.

Different milestones occur at different times

Know what Pereseal AF can and cannot do

Pereseal AF is a neutral-cure anti-fungal sanitary silicone for suitable bathroom, kitchen, tile and plumbing-fixture joints. It is the first product in the range to check for an ordinary sanitary perimeter. Confirm both surfaces, the available colour and pack size, and the current TDS before use.

AF cannot repair waterproofing, plumbing, ventilation, unsound substrate or a badly shaped joint. Anti-fungal protection is support after correct selection and installation, not immunity from mould or maintenance. Confirm both surfaces and any plastics, stone or coatings. For immersion, aquariums, food contact or specialist systems, obtain explicit current suitability evidence instead of extending the sanitary description.

Use the product as one part of a maintainable wet-area detail: sound substrate, correct geometry, complete adhesion, protected cure, drainage, ventilation and cleaning. If any of those controls is missing, changing only the cartridge is unlikely to produce a durable result.

Investigate repeated or hidden moisture

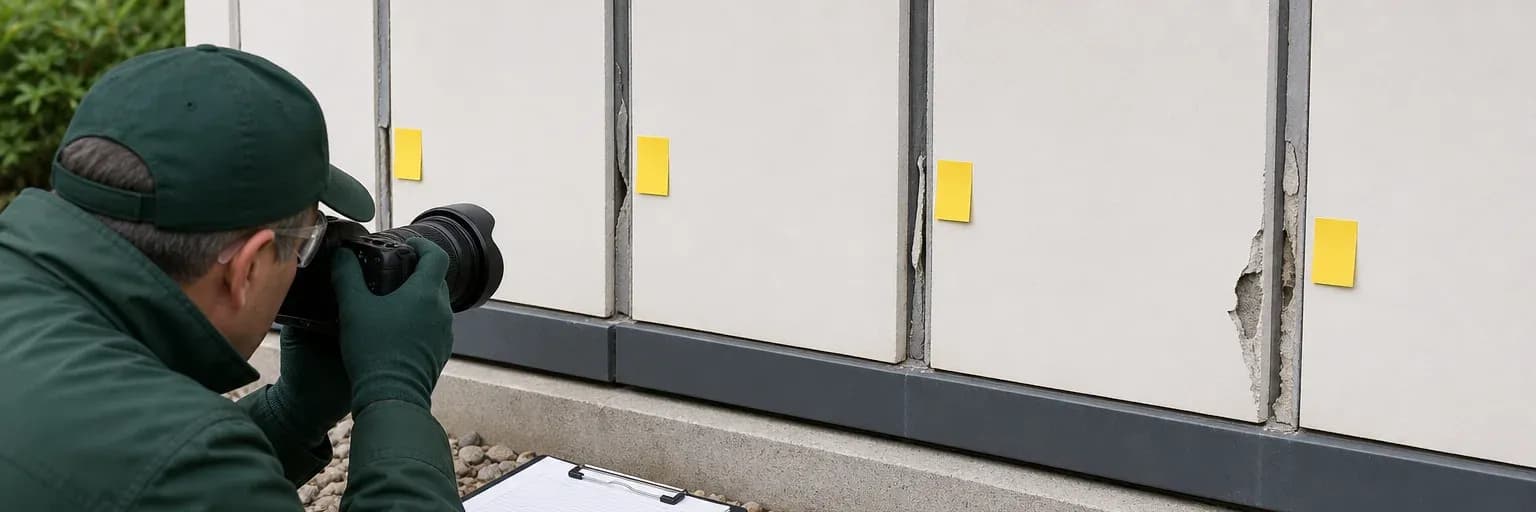
Rapid return after a carefully executed replacement, water appearing behind the bead, spreading wall stains, loose finishes or persistent odour suggests a concealed source. Photograph the pattern, record when it appears relative to use and check surrounding spaces where safe. A building professional may need to investigate plumbing, waterproofing, condensation or substrate damage.

Do not repeatedly reseal a joint that is acting as the visible edge of a larger failure. Protect occupants and adjacent materials, and follow appropriate mould and water-damage guidance. Once the source and substrate are corrected, the joint can be rebuilt using the actual detail and current product documents. This sequence is slower than covering the line but produces evidence instead of another hidden cycle.

Decision aid

What black marks mean

Surface marks on a sound bonded bead

Use compatible maintenance, improve drying and ventilation, and monitor whether deposits return in the same wet locations.

Darkness inside or behind a lifted edge

Plan removal and inspect for trapped water, contamination and substrate condition before selecting replacement material.

Active leak or damaged finish

Stop treating sealant as the source; obtain plumbing, waterproofing or building assessment and repair the assembly first.

Replacement joint after correction

Review sanitary silicone compatibility, prepare dry faces and protect the exact TDS cure period before service.

Evidence

Primary sources used

  1. A brief guide to mould, moisture and your homeUnited States Environmental Protection Agency

    Moisture control, ventilation, condensation and prompt drying as the central controls for indoor mould growth.

    Accessed 16 July 2026
  2. Wet Area Silicone Sealant product informationSelleys Singapore

    Current local-market example of sanitary silicone positioning, wet-area conditions and document presentation; not evidence for Pereseal AF claims.

    Accessed 16 July 2026
  3. ASTM C1193-25 — Standard Guide for Use of Joint SealantsASTM International

    General joint-design, substrate-preparation, backing, primer, installation, environmental and maintenance considerations; explicitly excludes structural glazing.

    Accessed 16 July 2026

Next step

Fix the moisture before resealing

Use the bathroom application guide to identify the joint. Review Pereseal AF only after fixing leaks, dampness and damaged surfaces.

Review bathroom applications

Related documents

Read the product evidence beside the guide

Technical data sheetEN

Pereseal AF TDS

Technical datasheet for Pereseal AF anti-fungal silicone.

Safety data sheetEN28 Oct 2017

Pereseal AF SDS

Relevant starting points

Products mentioned in this guide

These are selection starting points. Confirm suitability in current product documentation.

Anti-fungal silicone

Pereseal AF Anti-Fungal Bathroom & Kitchen Silicone Sealant

Product details

Keep learning

Related evidence-led guides