Documents & specification

How to read a sealant technical data sheet

Read a sealant TDS by checking identity, revision, intended uses, limitations, test conditions, joint design, preparation and application controls.

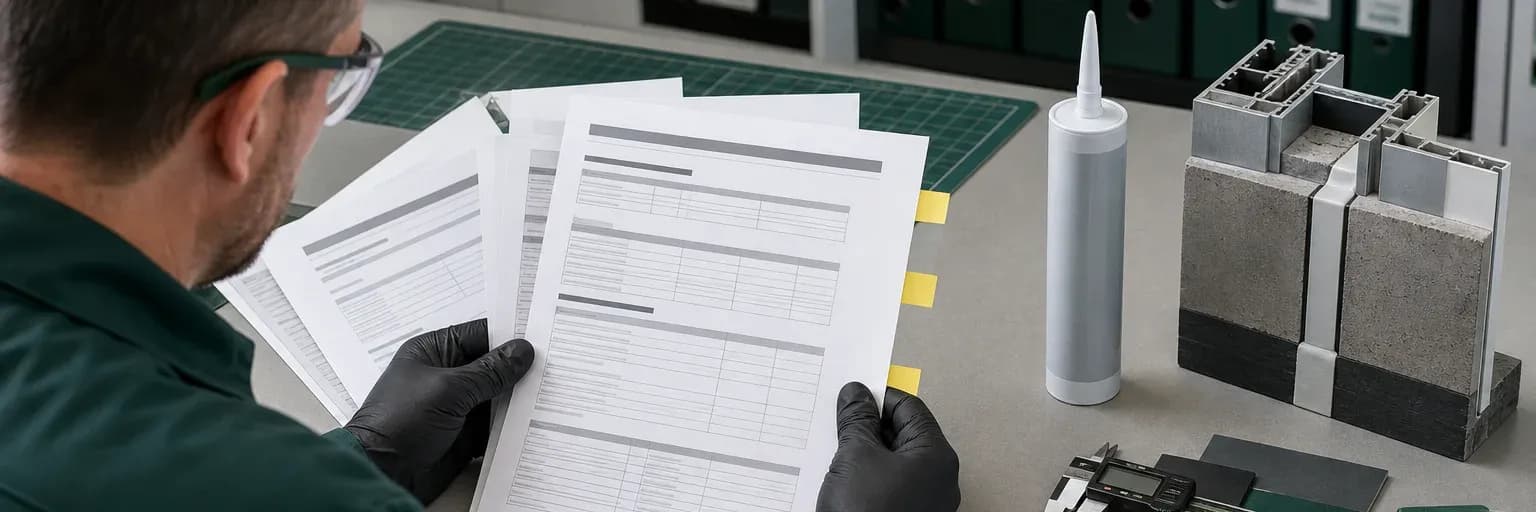
Technical data sheet, sealant cartridge and joint detail reviewed together on a clean worktable
A useful document review connects the exact pack to the revision, test conditions and real joint detail rather than reading one headline number alone.

Short answer

What to know first

Start with the exact product identity and revision, then read intended uses and limitations before comparing performance values. Treat every number with its test method, specimen and conditions. Confirm substrates, movement class, joint dimensions, preparation, primer, application window and cure limits together. A TDS guides selection and use; it is not an SDS, a certificate, a fire-system approval or proof that every listed property applies to your project.

A technical data sheet compresses intended uses, measured properties and application instructions into a few pages. It is easy to scan for one attractive number and miss the condition that makes the number meaningful. A movement value, cure rate or adhesion statement can be misunderstood when the test substrate, temperature, bead geometry or standard is ignored.

Use this method with the Pereseal technical library and the relevant product page. Always confirm the product name, document revision and intended use before relying on a TDS for a project.

Check the product name, issuer and revision

Match the product name and code on the TDS to the cartridge or sausage. Similar names, regional variants and reformulations can have different instructions. Record the manufacturer or responsible supplier, document title, revision date or number and page count. A filename containing a year is a clue, not a reliable revision control system; the document itself is the source.

Check whether a newer document exists and whether the project specification names a particular revision. If a TDS has no clear issue date, appears incomplete or conflicts with the current label, ask the supplier before relying on it.

Keep the approved revision with the project records so site teams can check the same instructions later.

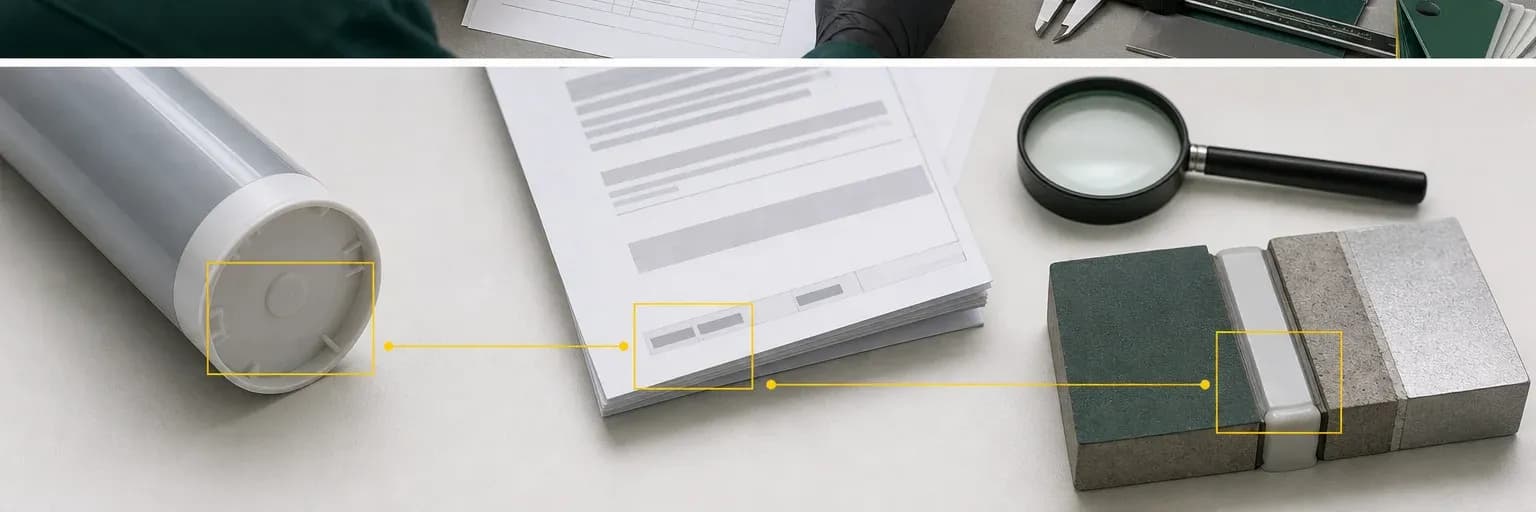
Close view of product code, document revision field and cartridge label being cross-checked
The first control is identity: the product, region and document revision must describe the same material before any property is compared.

Read uses and limitations together

The application list shows where the manufacturer expects the product to be considered; it does not approve every joint that shares a broad label. “Construction joints” may still exclude traffic, immersion, natural stone, certain plastics, structural glazing or contact with other materials. Read the limitations section immediately after the uses and mark every condition relevant to the actual project.

Translate generic descriptions into the real substrate pair, exposure and function. A “window perimeter” might involve coated aluminium to porous render under direct weather. A “bathroom joint” might be ceramic to acrylic tray with cleaning exposure. If the document does not address a critical condition, treat that as an unresolved question rather than evidence that no limitation exists.

Read test values with their test conditions

Every property value comes from a defined test. Check whether it describes uncured material, cured material or a sample aged under specific conditions. Density, hardness, tensile behaviour, elongation, movement class, skin time, tack-free time and cure rate answer different questions. Do not combine them into a performance claim that the document does not make.

Test-method references improve traceability but do not automatically prove project compliance. ISO 11600 classifies building sealants by application and performance characteristics, while ASTM standards cover different specifications, guides and test methods. Confirm which edition, class and acceptance criterion the specification requires. A laboratory specimen also does not cancel the effects of poor preparation, wrong geometry or incompatible adjacent materials.

Do not confuse skin time, cure rate and readiness for use

Skin formation describes the exposed surface changing; tack-free time describes surface condition under a defined method; cure rate usually describes depth developed over time under stated temperature and humidity. None should be casually rewritten as “ready for water” or “fully cured.” Thick sections, restricted moisture, low temperature or different chemistry may change the real timeline.

Look for explicit instructions on water exposure, painting, loading, movement and cleanup. If the document gives only a cure-rate example, calculate no project guarantee from it without technical confirmation. The guide on how long sealant takes to cure explains the stages, but the exact TDS remains the authority for the selected product.

Translate each timing statement into a project hold point and write down the test conditions behind it. The programme should state who releases the joint for tooling, paint, water, movement or load. If site temperature, humidity, bead depth or ventilation differs materially, obtain guidance instead of applying the printed number without adjustment.

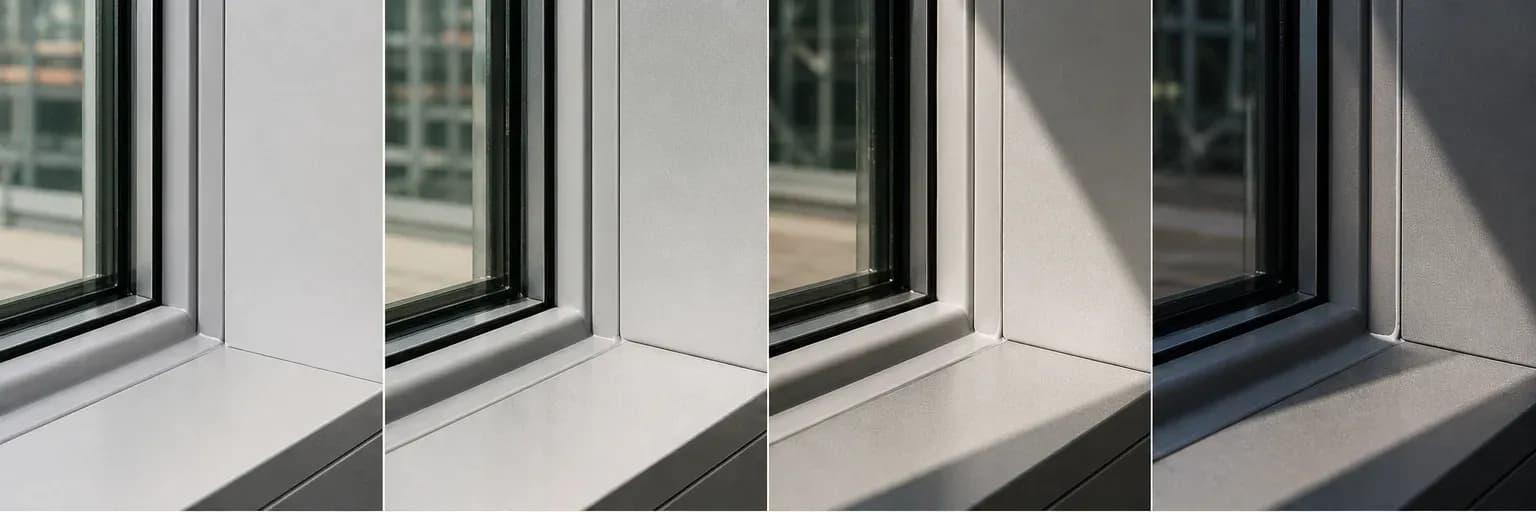
Different milestones occur at different times

Use the TDS to plan design, preparation and application

Find minimum and maximum joint dimensions, width-to-depth guidance, backing requirements and movement capability where provided. Movement class is not permission to place any bead shape in any opening. The assembly movement, installation temperature and designed joint width determine the strain the sealant sees. Backer rod or bond-breaker material may be necessary to create the intended cross-section and two-sided adhesion.

Then read substrate preparation, cleaner and primer instructions. “Primerless” is rarely a statement about every substrate and exposure. Note application temperature, substrate dryness, tooling method and working time. These requirements form a connected installation process. The joint-design guide and application workflow help translate the document into questions for the detail.

Mark every instruction that requires another trade or material: backing, primer, cleaner, masking, access, protection and substrate repair. A TDS is most useful when converted into coordinated responsibilities. Leaving those items inside a PDF until the applicator arrives makes compliance depend on materials and time that may no longer be available.

Attach the marked document to the approved method and replace it deliberately when a revision changes. Site copies should show which product and joint type they govern, avoiding a technically valid sheet being applied to the wrong cartridge or detail.

Match each question to its evidence

Know what a TDS does not prove

A TDS is not the safety data sheet. Use the SDS for hazard classification, protective measures, handling, storage, first aid and disposal. A TDS is also not automatically a certificate, declaration of conformity, third-party test report or project approval. Those documents have their own issuer, specimen, standard, scope and revision. One should not be used to fill a gap in another.

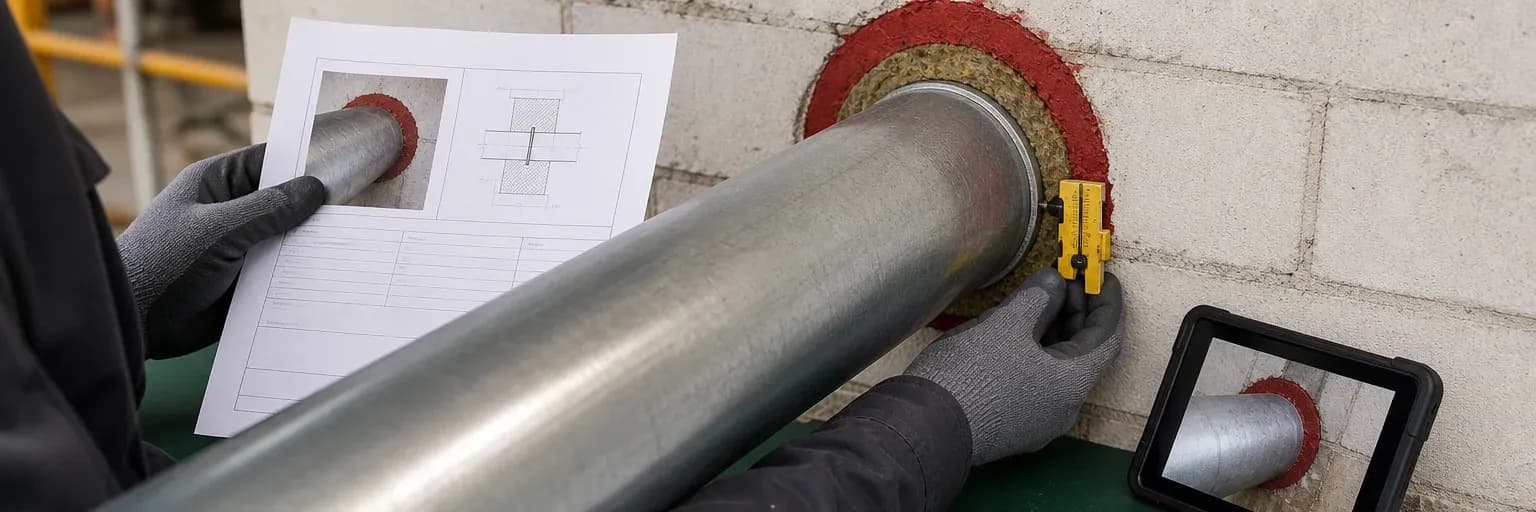
Fire performance illustrates the boundary. A product TDS may refer to a rating, but the applicable test report defines the wall or floor, service, opening, backing, sealant depth and orientation that were tested. Read fire-rated sealant as a tested system before specifying from a cartridge headline. For any conflict, the approved project documents and responsible professional control.

Decision aid

How to review a TDS

1. Identity and revision

Match product code, market, issuer and revision to the actual pack and confirm that no later document supersedes it.

2. Uses and exclusions

Map the real substrate pair, function and exposure to both the intended-use and limitation sections.

3. Tested properties and conditions

Keep every value attached to its test method, specimen and environment; do not translate it into a broader claim.

4. Installation and companion documents

Confirm geometry, preparation, primer, application and cure, then open the SDS and any required certificate or test report.

Evidence

Primary sources used

  1. ISO 11600:2002 — Classification and requirements for sealantsInternational Organization for Standardization

    The principle that building sealants are classified by application and performance characteristics rather than by a generic chemistry name alone.

    Accessed 16 July 2026
  2. ASTM C1193-25 — Standard Guide for Use of Joint SealantsASTM International

    General joint-design, substrate-preparation, backing, primer, installation, environmental and maintenance considerations; explicitly excludes structural glazing.

    Accessed 16 July 2026
  3. Safety Data Sheets — mandatory 16-section formatOccupational Safety and Health Administration

    The standard SDS section structure and the distinction between hazard/handling information and product-performance data.

    Accessed 16 July 2026

Next step

Read the TDS alongside the product and joint

Use the technical library to locate the TDS, SDS and supporting files, and ask for the current revision when status is uncertain.

Browse technical documents

Keep learning

Related evidence-led guides