Short answer
What to know first
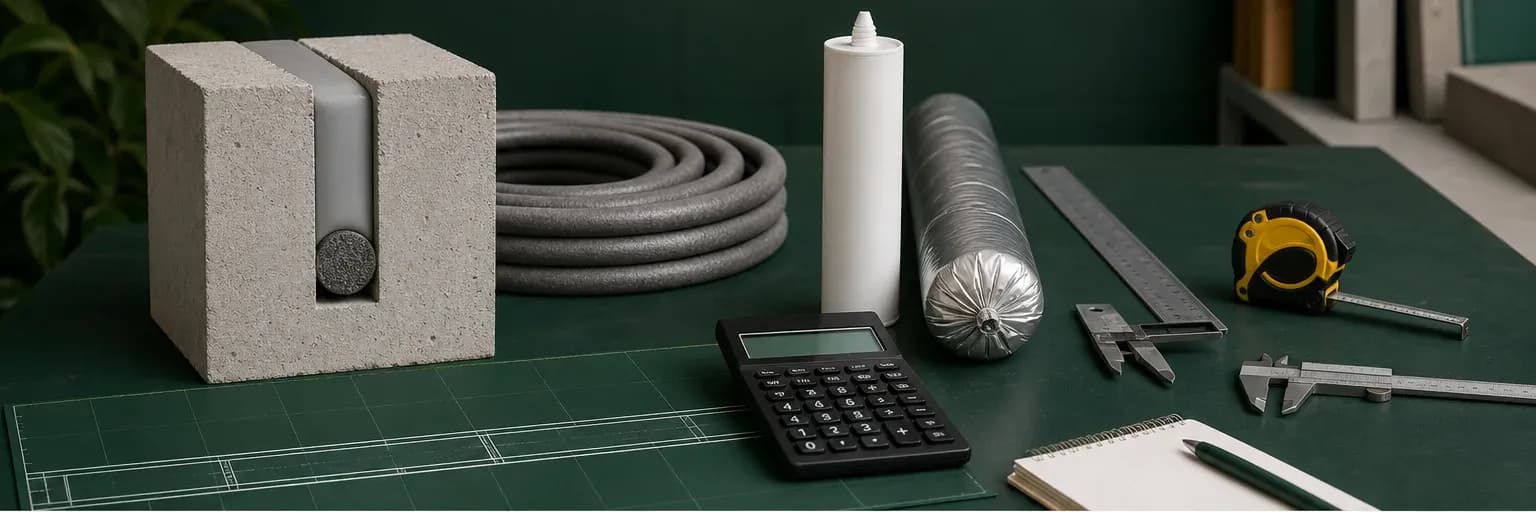
For a simple rectangular estimate, volume in millilitres equals joint width in millimetres × sealant depth in millimetres × joint length in metres. Divide by the usable pack volume, then round up and add a documented allowance for start/stop waste, irregular joints, tooling and site variation. Use the designed sealant cross-section—not the full cavity—and confirm actual current pack sizes before ordering. Rated or complex joints must follow their system detail.
Ordering from a coverage figure without checking joint dimensions can leave a site short or encourage an unsuitable thin bead. The calculation itself is simple; the quality of width, depth and length information determines whether the estimate is useful. Backing, corners, varying openings and waste must be accounted for explicitly.
Use this guide after joint design and backer rod selection. It estimates material; it does not choose dimensions, approve a bead or confirm current Pereseal pack availability. Product TDS and the project detail control the cross-section.
Start with the designed joint width and depth
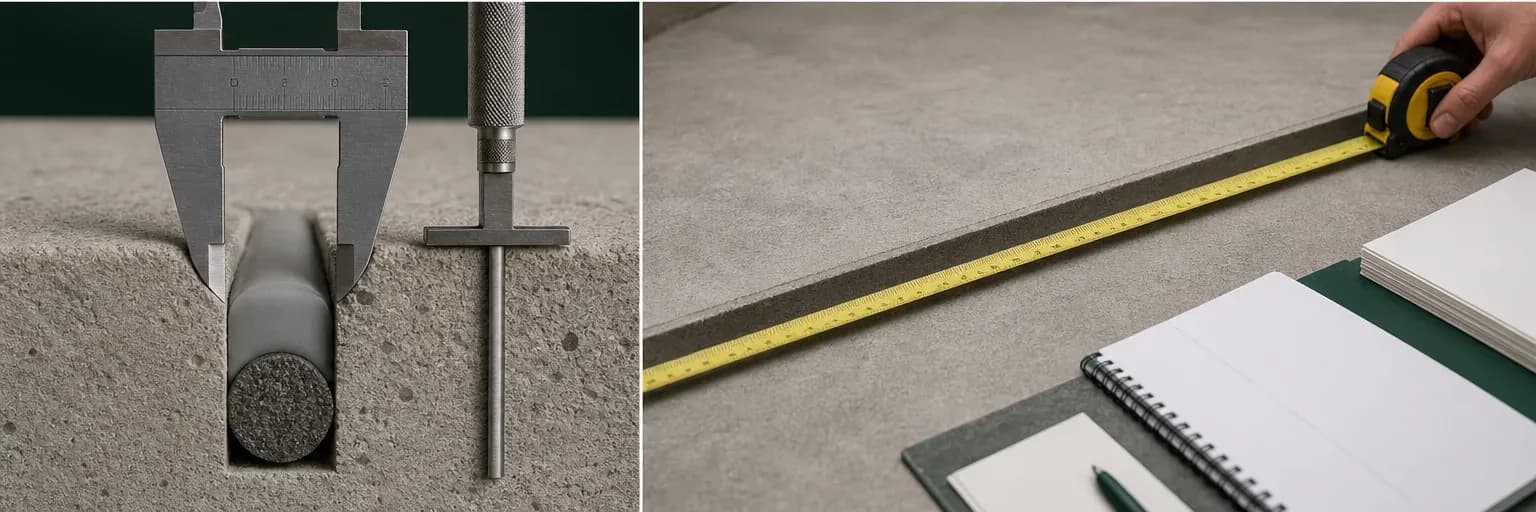
Measure or take the nominal joint width in millimetres and the sealant depth specified by the product or designer. Depth is the thickness of sealant above the backing or bond breaker, not the total cavity. If the opening varies, divide it into representative bands rather than using the smallest measurement. Record the basis and number of locations measured.
Do not reduce depth solely to improve coverage. Minimum and maximum dimensions, movement, bond-face area and cure determine the section. Excessive depth also should not be accepted just because sufficient material is available. Resolve the joint detail first; quantity is an output. Complex concave faces are normally estimated using the designed nominal section plus an allowance.

Use the millimetre–metre shortcut correctly
For a rectangular nominal section, width (mm) × depth (mm) gives square millimetres. Multiplying by length in metres produces the same numerical value in millilitres because one metre is 1,000 mm and one millilitre is 1,000 cubic millimetres. A 10 mm × 5 mm joint over 20 m therefore estimates 1,000 ml before waste.
Check units before calculation. If length is entered in millimetres, divide cubic millimetres by 1,000 for millilitres. If dimensions are in inches, convert consistently rather than mixing systems. Keep more precision in intermediate calculations, then round the purchase quantity upward at the end. Label the result “theoretical volume” so it is not mistaken for a guaranteed pack yield.
Convert the volume into the number of packs
Divide total millilitres by the nominal usable volume of the selected cartridge or sausage. For the 1,000 ml example, a confirmed 300 ml pack gives 3.33 theoretical packs, so at least four are needed before waste. A confirmed 600 ml sausage gives 1.67, so at least two before waste. Do not use these example pack sizes as a statement of current availability.
Pack yield can differ from nominal arithmetic because material remains in nozzles, plungers, guns and partly used packs. Sausage and cartridge equipment, nozzle size and work sequence affect waste. Confirm the actual pack label and current catalogue, and ensure the gun is compatible. Ordering a fraction of a pack is impossible, so round each colour or product separately.
Allow clearly for waste and site variation
Allow for start/stop losses, nozzle changes, tooling removal, irregular edges, wider sections, damaged packs, samples and site contingency. The percentage should come from project experience and measured variability rather than a universal number. Simple repetitive factory joints may need a different allowance from rough masonry or many short bathroom perimeters.
Show the theoretical quantity and allowance separately. This makes later reconciliation useful: unusually high consumption can indicate larger joints, uncontrolled depth, void filling or excessive tooling. Unusually low consumption may indicate a thin or incomplete section. Quantity records can therefore support quality checks rather than merely procurement.
Agree who owns the allowance and when it is reviewed. On phased work, compare the first completed area with its estimate before ordering every remaining pack. That early reconciliation can expose a drawing quantity error or uncontrolled joint depth while there is still time to correct procurement and workmanship.
Calculate different sizes, colours and products separately
When a run changes dimension, calculate each segment and sum the volumes. Do the same for vertical/horizontal details if their depths differ. Separate products and colours because leftovers cannot always be shared. Include corner, termination and mock-up quantities. A spreadsheet should retain segment names so the estimate can be checked against drawings and site measurements.
For tapered, triangular or fillet sections, use the appropriate geometric area only if that shape is actually designed and permitted. Do not assume a triangular fillet is half a rectangular movement-joint quantity when bond-face and minimum-thickness requirements differ. Ask the designer or manufacturer for complex geometries and prefabricated joint systems.
Use drawing references or location codes for every row, and keep measured assumptions visible beside the formula. A checker should be able to trace the total back to physical runs without reverse-engineering a single blended average. Revise the schedule when site openings differ.
Use backing to control deep joints
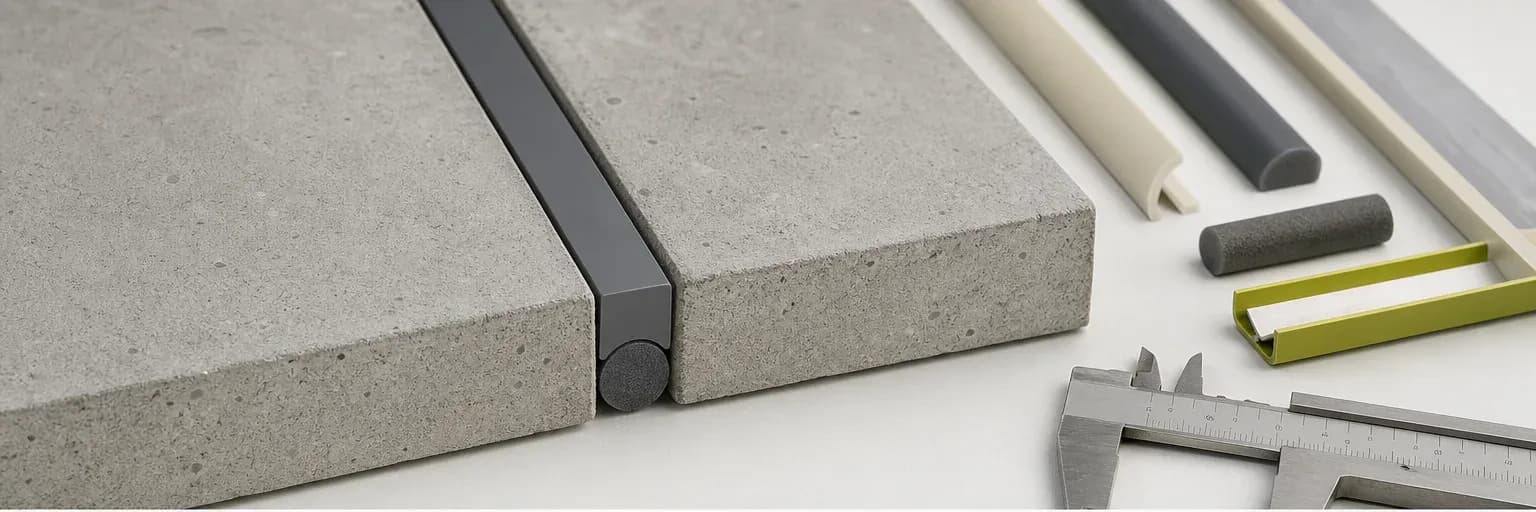
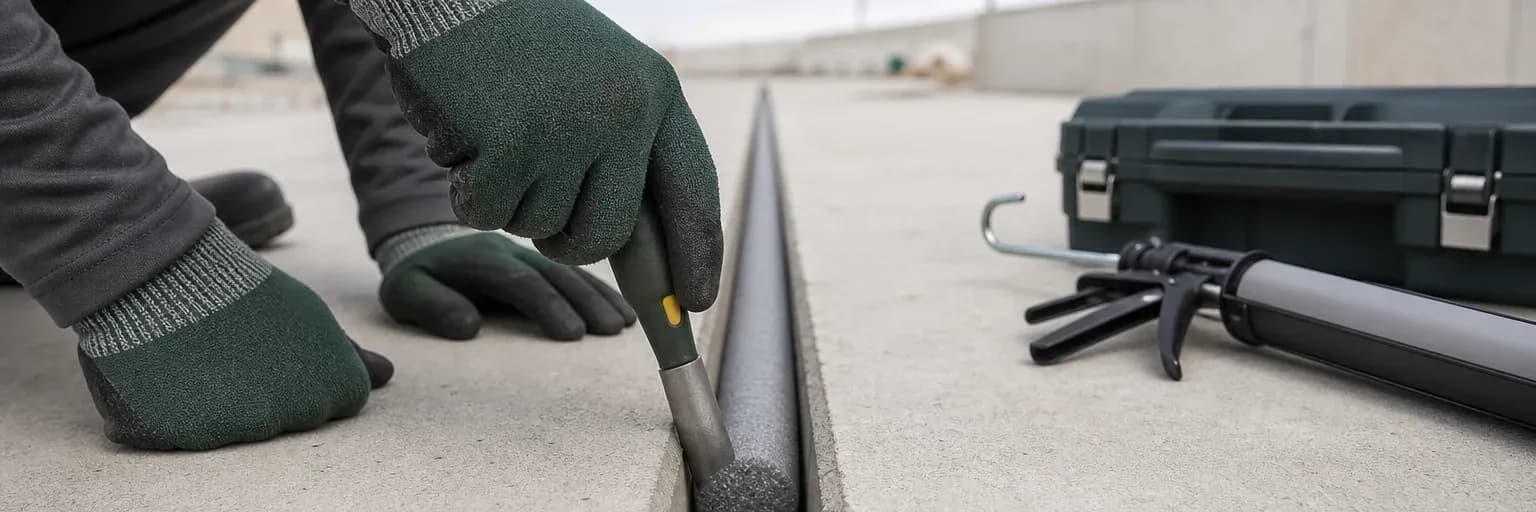
If the calculation produces a very large volume because the cavity is deep, verify whether backing is missing from the estimate. Backer rod can establish the intended depth and two-sided adhesion. It should be selected for the detail, not inserted merely to force the order quantity down. Improvised fillers can contaminate, absorb water or invalidate a tested system.
Fire-rated joints are especially sensitive: the specified backing, compression and sealant depth belong to the tested assembly. Calculate from that detail and include inspection samples or wastage without changing components. For bonding beads, use the product’s bead pattern and thickness guidance rather than this movement-joint rectangle formula.
Calculate backing quantity separately by joint length, size and type, allowing for joints, corners and installation method. Keep its procurement linked to the sealant programme so work is not forced to continue with an improvised depth control when one component arrives late.
Compare material ordered, used and left over
At delivery, verify product, colour, batch, pack volume, date and quantity. Store it under the current TDS/SDS. During work, record installed lengths and dimensional changes. Count empty, partly used and rejected packs where the quality plan permits. This identifies shortages early and provides evidence if actual consumption departs materially from the estimate.
Return unopened usable stock through the project process or store it traceably; do not combine unknown leftovers. If the measured joint differs, update both material estimate and design review before continuing. Contact Pereseal with the product, confirmed pack, width, depth and length for an order check, while recognising that installer technique and site variation remain outside a guaranteed yield.
Decision aid
How to calculate quantity
1. Confirm designed cross-section
Use permitted width, sealant depth and backing from the product/detail; do not let desired coverage set geometry.
2. Calculate each segment
Multiply width mm × depth mm × length m for millilitres, separating changed dimensions, products and colours.
3. Convert using confirmed pack volume
Divide by the actual current cartridge/sausage volume, round upward and verify compatible dispensing equipment.
4. Add and record allowance
Apply a project-based allowance for waste and variation, then compare actual consumption with installed work.
Evidence
Primary sources used
- ASTM C1193-25 — Standard Guide for Use of Joint SealantsASTM International
General joint-design, substrate-preparation, backing, primer, installation, environmental and maintenance considerations; explicitly excludes structural glazing.
Accessed 16 July 2026 - Joint sealants for building and civil engineeringSika
General explanation of joint dimensioning, backing rods, three-sided adhesion, substrate condition and application workflow; not Pereseal-specific evidence.
Accessed 16 July 2026 - FAQ and technical bulletinsBostik Singapore
General industry guidance on backing rods, joint dimensions, primers, paint cracking, inspection and sealant terminology; not evidence for Pereseal product performance.
Accessed 16 July 2026
Next step
Confirm joint dimensions and pack size before ordering
Bring product, colour, designed width/depth and total length to Pereseal for an order sense-check after reviewing the TDS.
Contact Pereseal