Wet areas

How to choose sealant for bathrooms and kitchens

Choose sanitary sealant by identifying substrates, water exposure, movement, cure conditions, cleaning and the cause of any existing failure.

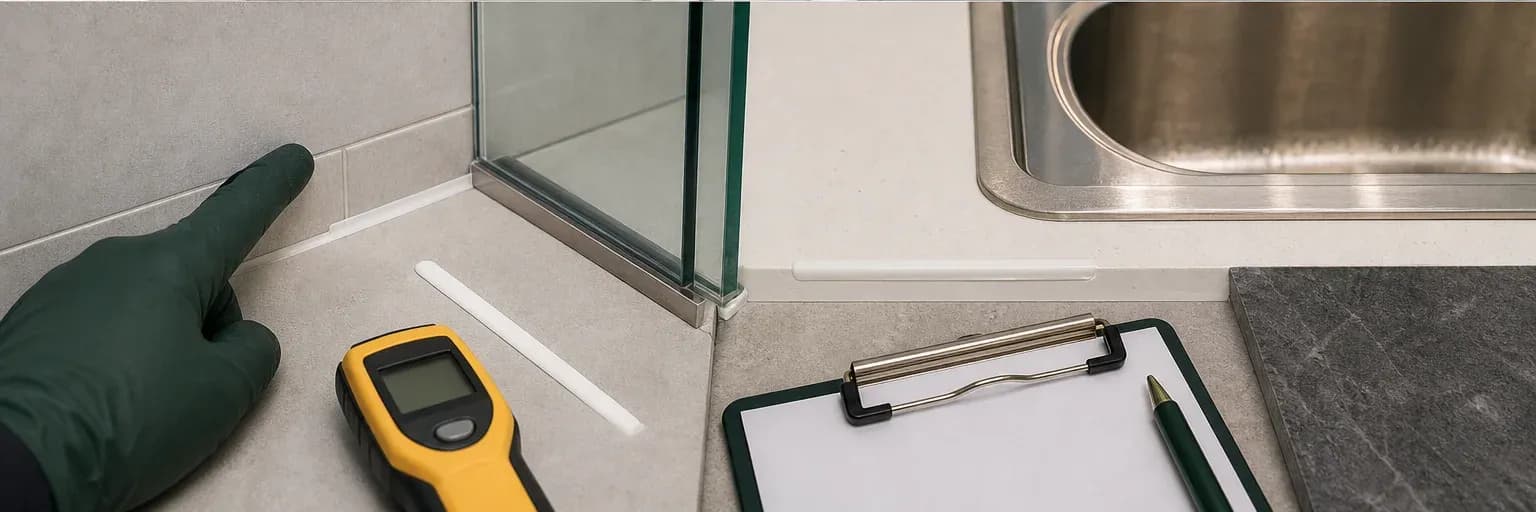
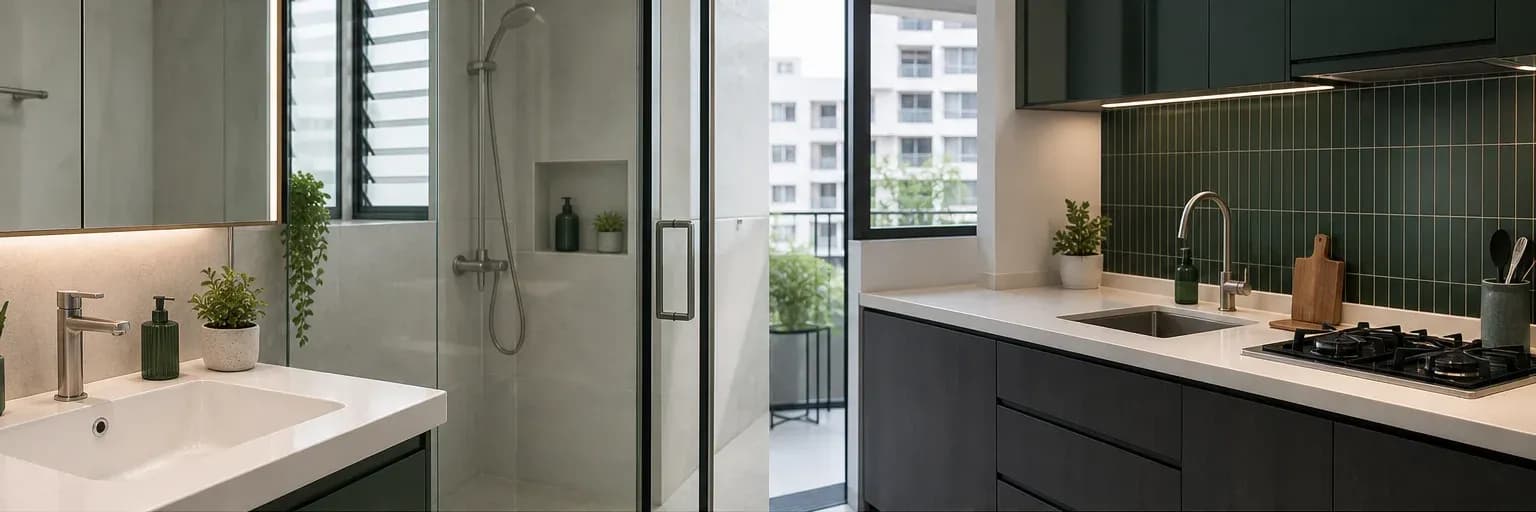
Clean bathroom basin, tiled wall and glass perimeter joints shown in humid daylight
A wet room contains several different interfaces; each joint needs its own substrate, exposure and movement check before one cartridge is chosen.

Short answer

What to know first

Start with a sanitary silicone intended for the actual wet-area joint, then confirm both substrates, movement, cleaning exposure and the current TDS. Anti-fungal protection can help inhibit growth on the cured bead, but it is not mould-proof and cannot compensate for standing water, poor ventilation, contamination, failed adhesion or a leaking assembly.

Bathrooms and kitchens compress several difficult conditions into small joints: water, humidity, cleaning products, temperature changes and movement between ceramic, glass, metal, stone, coatings and plastics. “Bathroom sealant” describes a market category, not proof of compatibility with every edge in the room.

Use this guide with the bathroom and kitchen application page and the Pereseal AF product page. It explains when sanitary silicone may be suitable and when a failed joint points to a larger moisture problem.

Choose for each joint, not the whole room

List the two surfaces at every joint. A basin-to-tile perimeter, glass-to-aluminium shower screen, stainless sink-to-worktop edge and painted wall corner are not equivalent. Include coatings and finishes in the description. A sealant may adhere to the base material but stain, corrode or fail to bond to a coating, plasticiser-rich plastic or natural stone surface.

Then state what the joint is expected to do. Some sanitary joints exclude splashes; others accommodate movement between a tray and wall; some are only decorative. A joint that forms part of a waterproofing or fire-rated system needs the complete specified system, not a general bathroom recommendation. Structural movement, active leaks and unsound substrates should be diagnosed before resealing.

Close-up of tile, glass, aluminium and basin joints marked as separate substrate pairs
Treat each perimeter as a pair of materials and a specific function; a single room can require several different compatibility decisions.

Distinguish splashes, constant damp and immersion

Water exposure has degrees. Occasional sink splashes, daily shower wetting, a joint that traps water and continuous immersion place different demands on a seal. A product described as water resistant after cure may still exclude immersion, submerged joints or use as the primary waterproofing layer. Check the current product document for the precise exposure and the time before water contact.

Look behind the visible bead. Water can arrive from failed grout, plumbing, condensation or a gap in the underlying assembly. Replacing the surface line cannot repair a leaking pipe or missing waterproofing. If the substrate remains damp, soft, stained or unstable after the old bead is removed, stop and resolve the source before applying new material.

Read where the joint separated

Know the limits of anti-fungal sealant

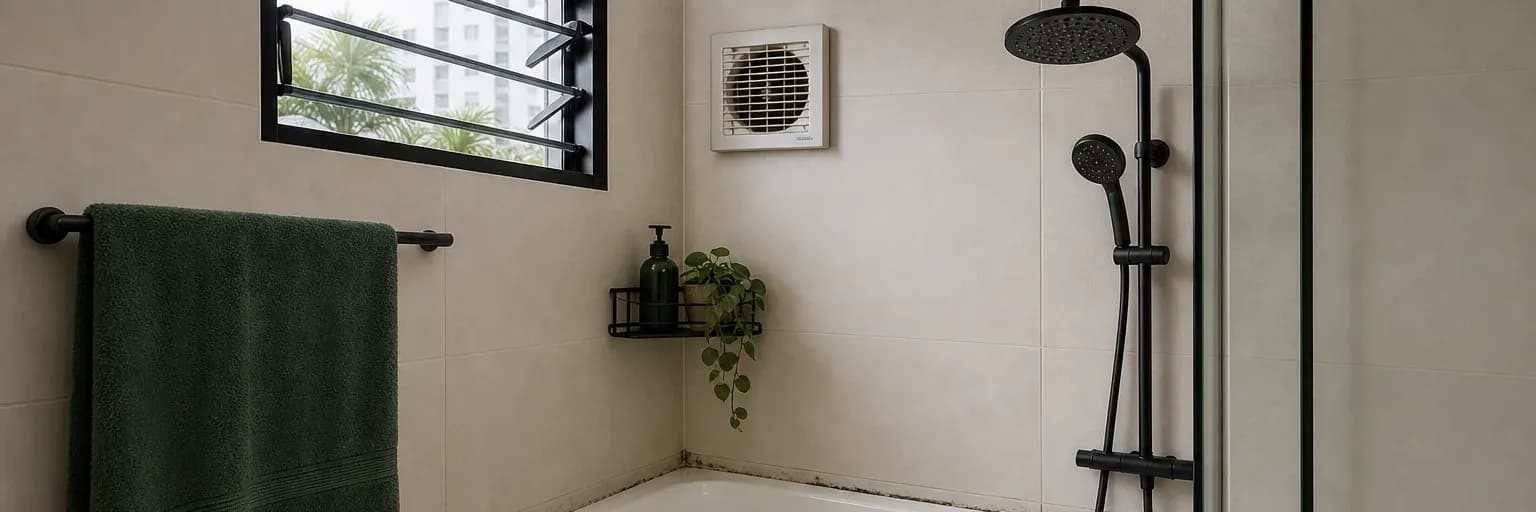
A sanitary silicone may contain protection intended to inhibit fungal growth on the cured sealant. That support is useful in humid rooms, but it does not make the bead sterile, self-cleaning or permanently mould-proof. Soap film, skin oils and dust can form a nutrient layer on the surface. Standing water and weak ventilation keep that layer damp long enough for growth to return.

Pereseal AF is the range’s neutral-cure sanitary silicone for suitable bathroom, kitchen and plumbing-fixture joints. Check the current TDS against both surfaces and the actual exposure. The guide on why bathroom silicone turns black explains the differences between surface growth, staining, water behind the bead and adhesion loss.

Plan surface preparation and curing before you start

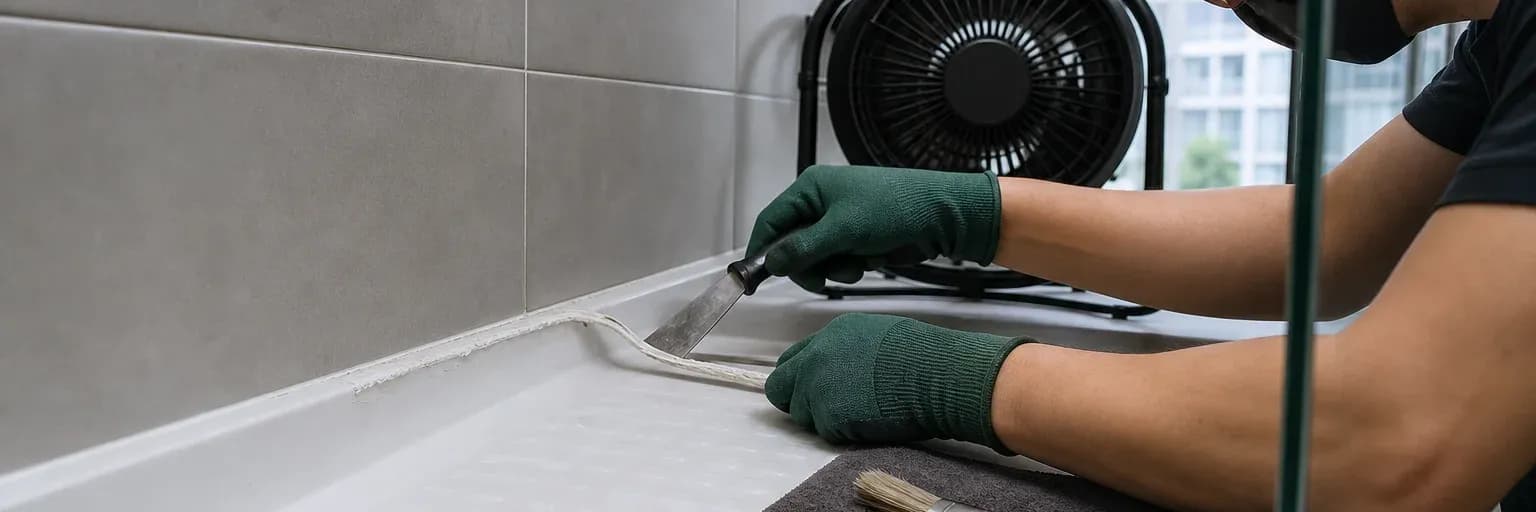
A wet-area replacement needs a dry window long enough to remove the old sealant, clean by a method permitted for the substrates, allow the joint to dry, apply and protect the new bead through the product-specific cure period. A surface skin can form before the material beneath has developed the properties required for water contact. Do not schedule shower use from touch alone.

Old sealant, cleaner residue, dust and moisture can interrupt adhesion. New silicone applied over an old bead may bond unpredictably and conceal contamination. The bathroom silicone replacement guide gives a conservative sequence, while the current TDS and SDS control product-specific preparation, ventilation, protective equipment and cleanup.

Prepare a simple room-by-room hold-point sheet: substrate dry, old residue removed, cleaner evaporated, edges sound, backing or bond breaker correct, product and batch checked, ventilation available and water use isolated. Photograph representative prepared joints before gunning and completed joints before service. Coordinate occupants and following trades so nobody washes, paints, loads or covers the bead prematurely. Where concealed leakage, loose tiles, failed grout or moving sanitaryware is present, pause sealing and repair the underlying assembly first. This planning takes longer on paper but prevents a new bead from becoming a cosmetic cover over unresolved moisture or movement.

For occupied homes, communicate the unavailable sink, shower or worktop period before starting and provide a realistic contingency for slow cure. On commercial work, coordinate the protection zone with cleaners and other trades. A technically correct bead can still fail when the area is returned to service without control.

Different milestones occur at different times

Account for movement and daily use

Baths, trays, worktops and basins can move relative to walls when loaded, heated or used. A thin triangular smear may look tidy but leave too little sealant to move properly. An overly deep bead may cure slowly and concentrate stress. The edges must be sound, and the joint shape must let the sealant stretch and compress as intended.

Cleaning is part of the service environment. Abrasive tools can damage the surface; strong chemicals may discolour or degrade the bead or adjacent materials. Do not recommend a universal cleaner without checking the sealant and surface instructions. Routine drying, ventilation and gentle cleaning of deposits usually matter more than a claim that the sealant itself prevents mould.

Know when sealant is not the main problem

Repeated blackening in the same location, water emerging from behind the joint, wide adhesion loss, persistent odour, soft substrate or movement that opens the gap are diagnostic signals. Reapplying a better-labelled cartridge over the same condition is unlikely to give a durable result. Investigate ventilation, drainage, plumbing, waterproofing, loading and the integrity of the joint edges.

Escalate joints involving natural stone, unusual plastics, coated metals, aquariums, food-contact requirements, structural glazing, continuous immersion or a safety-rated system. Those uses need specific compatibility evidence and may need specialist products or design. For ordinary sanitary perimeters, record the substrate pair and exposure, review the current AF documents, then ask Pereseal if the fit remains uncertain.

After the first period of normal use, check that the bead remains bonded and the area dries properly.

Decision aid

Check the wet-area joint

The joint is sound and sees normal splashes

Review a sanitary silicone, confirm both surfaces and cure-to-water timing, then follow the current TDS and SDS.

The bead is mouldy but still bonded

Assess deposits, ventilation and water retention first; anti-fungal protection cannot overcome a persistently wet, dirty surface.

The bead has lifted, split or has growth behind it

Plan full removal and diagnosis rather than an overlay; resolve dampness and unsound edges before resealing.

The joint is unusual or part of another system

Obtain project-specific compatibility and system evidence instead of extending a general bathroom recommendation.

Evidence

Primary sources used

  1. A brief guide to mould, moisture and your homeUnited States Environmental Protection Agency

    Moisture control, ventilation, condensation and prompt drying as the central controls for indoor mould growth.

    Accessed 16 July 2026
  2. Wet Area Silicone Sealant product informationSelleys Singapore

    Current local-market example of sanitary silicone positioning, wet-area conditions and document presentation; not evidence for Pereseal AF claims.

    Accessed 16 July 2026
  3. ASTM C1193-25 — Standard Guide for Use of Joint SealantsASTM International

    General joint-design, substrate-preparation, backing, primer, installation, environmental and maintenance considerations; explicitly excludes structural glazing.

    Accessed 16 July 2026

Next step

Check the joint before choosing the cartridge

Review Pereseal AF, then confirm both surfaces and the exposure in the current TDS.

Review Pereseal AF

Related documents

Read the product evidence beside the guide

Technical data sheetEN

Pereseal AF TDS

Technical datasheet for Pereseal AF anti-fungal silicone.

Safety data sheetEN28 Oct 2017

Pereseal AF SDS

Relevant starting points

Products mentioned in this guide

These are selection starting points. Confirm suitability in current product documentation.

Anti-fungal silicone

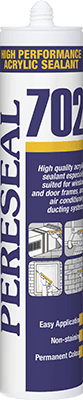
Pereseal AF Anti-Fungal Bathroom & Kitchen Silicone Sealant

Product details

Keep learning

Related evidence-led guides