Wet areas

How to remove and replace bathroom silicone sealant

A conservative bathroom resealing workflow: diagnose the failure, protect the assembly, remove old silicone, prepare dry surfaces and allow full cure.

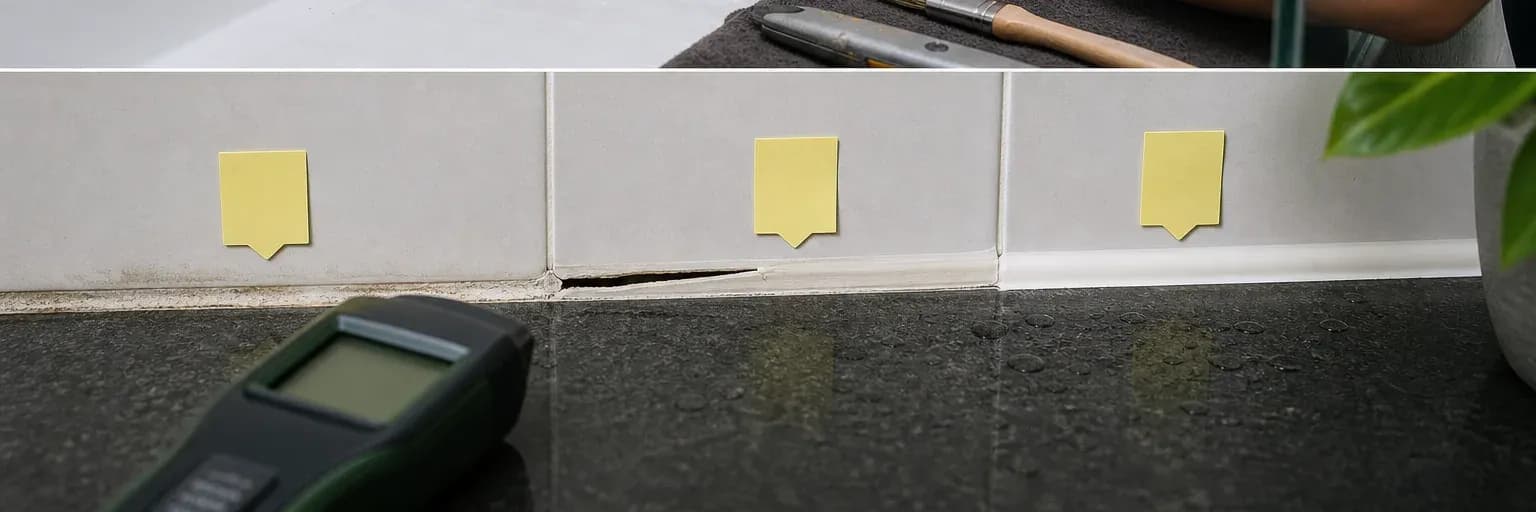
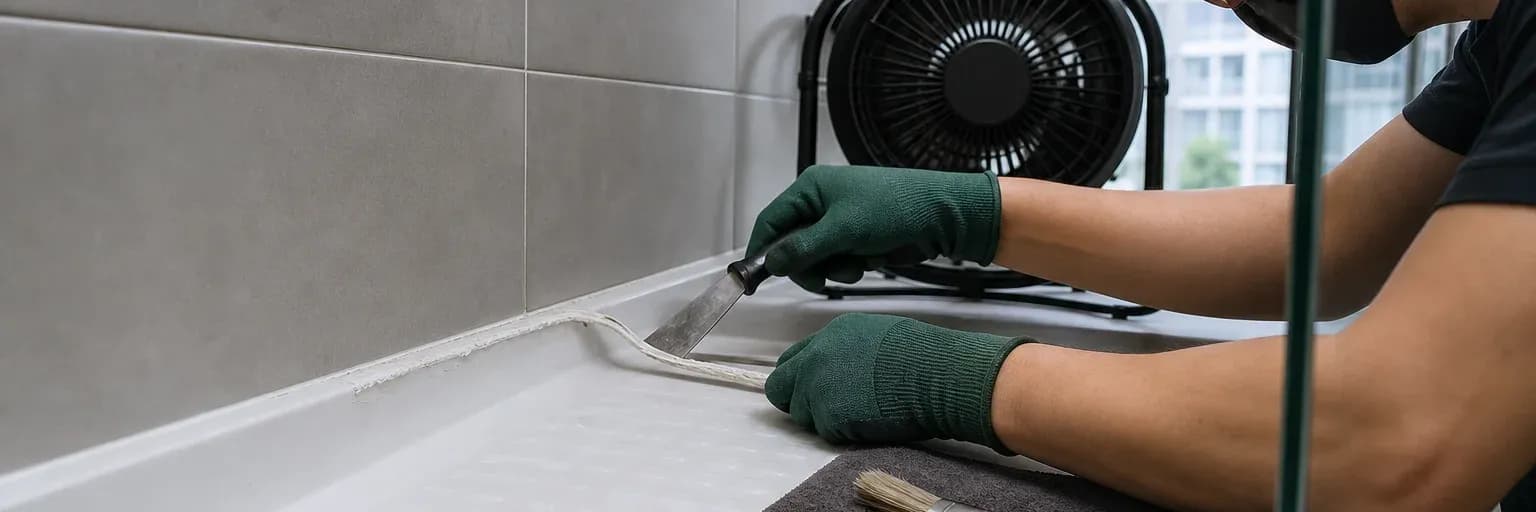
Partly removed bathroom silicone bead beside clean tile and shower-tray edges with hand tools arranged safely nearby
A durable replacement starts by exposing and correcting the condition behind the old bead, not by covering the visible stain.

Short answer

What to know first

Replace bathroom silicone when the bead has lost adhesion, split, remained contaminated or has growth behind it—not by applying a second layer over the old line. First rule out plumbing, waterproofing and substrate damage. Remove the failed material without harming adjacent surfaces, prepare clean dry bonding faces by methods allowed for those materials, apply a compatible sanitary silicone and keep the joint out of service for the product-specific cure period.

Dark spots, peeling edges and splits often trigger an immediate plan to “add more silicone.” An overlay can trap moisture, hide weak adhesion and create an irregular joint that is harder to inspect. Replacement is a repair process: decide why the old line failed, expose sound surfaces, then rebuild the joint under the new product’s instructions.

This guide covers ordinary sanitary perimeters and links to bathroom sealant selection and Pereseal AF. It does not replace a waterproofing-system detail, plumbing repair, mould remediation plan or substrate-specific safety instruction.

Choose between cleaning, repair and replacement

Inspect the complete bead in good light. Surface deposits on a fully bonded, elastic joint are different from growth beneath a lifted edge, a split through the bead or water emerging from behind it. Check corners, changes of material and locations where water sits. Pressing or probing aggressively can damage a joint, so use visual evidence and gentle inspection before deciding on removal.

A bonded bead with light surface contamination may need maintenance permitted by the sealant and surface manufacturers. Loss of adhesion, deep staining within the bead, recurring growth beneath it or an open crack normally points toward removal. If dampness, soft board, loose tile, persistent odour or an active leak appears, stop treating the sealant as the whole problem and investigate the assembly.

Map the condition around the complete fixture, including corners, penetrations, grout changes and the far side of the joint. Photograph the dry and recently wet states where safe, and note whether the bead is detached, split, soft, deeply stained or merely carrying surface residue. Check for movement when the bath or tray is loaded as intended. If water is emerging from behind finishes, tiles are loose or the sanitaryware moves, stop treating the sealant as the root cause. A replacement perimeter can only perform where the underlying assembly is stable, drained and able to dry.

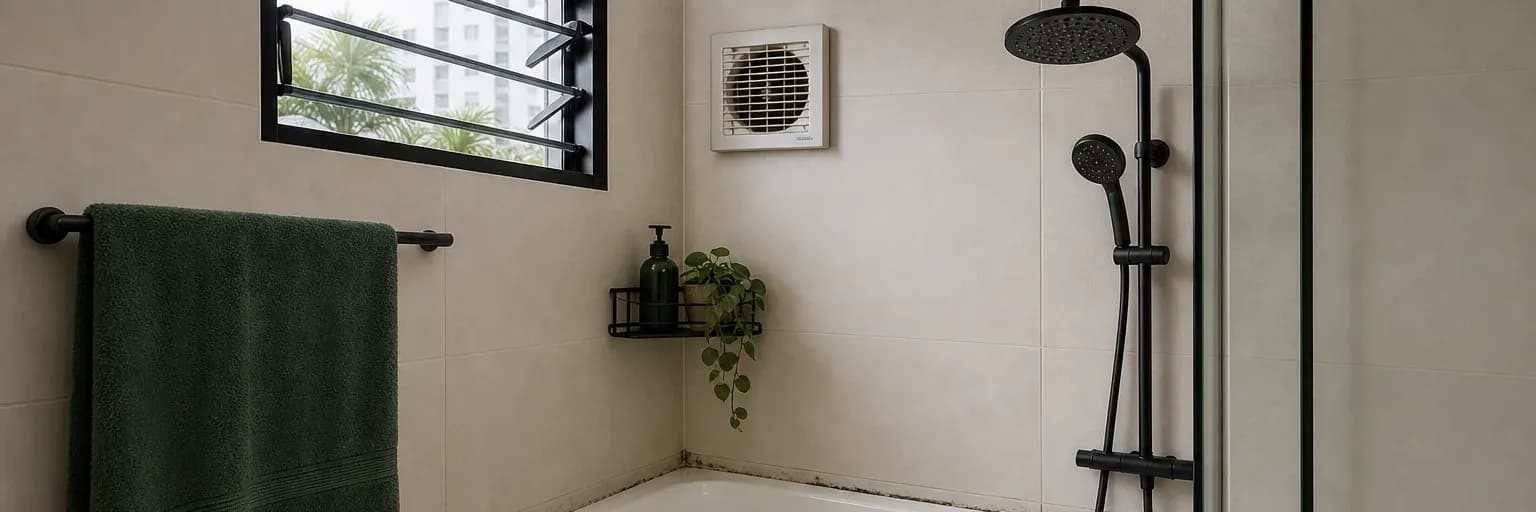
Bathroom perimeter showing separate examples of surface deposits, lifted sealant edge and split bead
The location and shape of the defect determine the next step: surface maintenance, sealant replacement or investigation behind the finish.

Set aside enough dry time

The room needs enough time for removal, permitted cleaning, drying, application and product-specific cure before water returns. A few hours without showering may be insufficient even when the bead has formed a skin. Check the current TDS for application temperature, working time, cure rate and water-contact instructions; then add time for the substrate to dry after the old seal is removed.

Provide ventilation and follow the SDS for gloves, eye protection and handling. Keep children, pets and other trades away from open blades, debris and uncured material. Identify where removed sealant and disposable materials will go. Do not begin if the only bathroom must return to service before the stated cure conditions can be achieved; reschedule rather than judging readiness by touch.

Different milestones occur at different times

Remove old sealant without damaging nearby surfaces

Release the bead from each bonding face using tools appropriate to the substrate. Glass and hard glazed tile tolerate different methods from acrylic trays, coated metal, stone, waterproofing membranes and painted surfaces. Work slowly enough to see what lies beneath. Avoid driving a blade beyond the sealant into concealed waterproofing or scratching a finish that the replacement must bond to.

Remove residual material to the degree required for a compatible bond. Small smears can be more difficult than the main strip, but an aggressive abrasive or solvent can produce permanent surface damage or leave another contaminant. Use only methods permitted by the substrate and new sealant instructions. Generic chemical recipes are deliberately omitted because compatibility, ventilation and disposal vary.

Fix moisture problems and prepare two sound surfaces

With the joint open, look for trapped water, soap residue, mould growth, weak grout, damaged coating and movement. Drying the visible edge is not enough if water continues to arrive from a pipe, failed grout line or waterproofing defect. Repair the source and replace unsound material before sealing it out of sight. Persistent or extensive mould may require professional assessment rather than a cosmetic repair.

Prepare the two faces using the new product’s method. They should be sound, clean and dry at application. If the joint is deep, backing may be needed to control the cross-section and prevent adhesion at the rear; follow the detail rather than stuffing the gap with absorbent material. Mask adjacent surfaces without covering the bonding area, and complete any required primer step within its stated window.

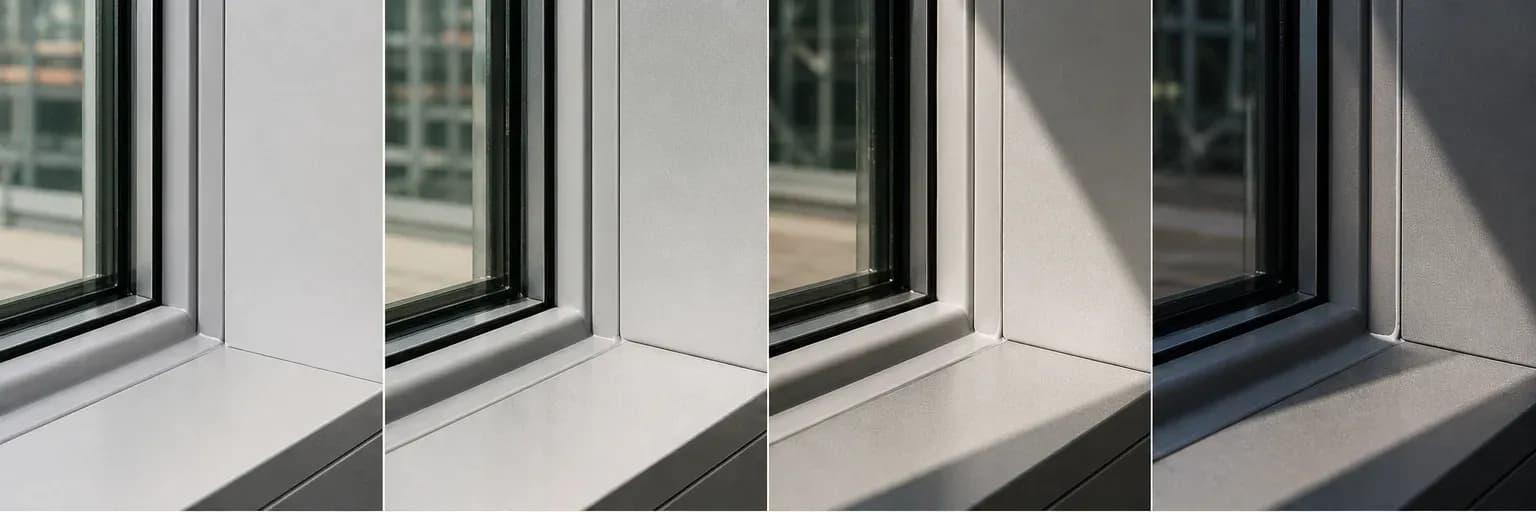
A movement joint needs two bonding faces

Apply one continuous bead of compatible sanitary silicone

Confirm the cartridge identity, condition and current documents. Gun the sealant so it contacts both prepared faces and fills the designed section without voids. Tool within the product’s working time to consolidate contact and create a surface that does not unnecessarily trap water. Remove masking in the instructed sequence. Do not add unapproved detergent or solvent as a universal tooling aid.

Pereseal AF is a neutral-cure sanitary silicone for suitable bathroom, kitchen and plumbing-fixture joints. It is not automatically suitable for every plastic, stone, coating or joint. Confirm the exact materials, colour and pack availability, and do not assume that it is suitable for aquariums, structural glazing, immersion or other specialist work.

Protect the sealant while it cures and prevent repeat problems

Keep the new bead free from water, cleaning, contact and movement for the full period stated for the product and bead size. A surface skin forms before the centre is fully cured. After this period, check for continuous adhesion, gaps or damaged edges before using the joint. Record the product and date for future maintenance.

Reduce the conditions that supported the original problem: remove standing water, improve practical ventilation, dry regularly and clean deposits using methods compatible with the sealant and adjacent finish. Anti-fungal protection assists the cured bead but cannot overcome moisture and residue indefinitely. If blackening returns quickly or from behind, use the black silicone diagnosis guide rather than repeating the same repair.

Decision aid

Should you replace the sealant?

Clean and bonded surface

Use only maintenance allowed by the sealant and surface instructions; do not damage a functioning bead simply because it has light deposits.

Lifted, split or deeply contaminated bead

Remove the failed material, expose and prepare sound faces, then rebuild the joint with a compatible sanitary product.

Water or damage behind the bead

Stop and repair plumbing, waterproofing, grout or substrate defects before resealing; a new surface line will hide rather than solve them.

Unusual material or specialist use

Obtain current compatibility evidence and system guidance before removal or application, especially for stone, plastics, coatings or immersion.

Evidence

Primary sources used

  1. How to remove silicone sealantSelleys Singapore

    General removal and replacement sequence used only as a workflow cross-check; product labels and substrate safety still control.

    Accessed 16 July 2026
  2. A brief guide to mould, moisture and your homeUnited States Environmental Protection Agency

    Moisture control, ventilation, condensation and prompt drying as the central controls for indoor mould growth.

    Accessed 16 July 2026
  3. ASTM C1193-25 — Standard Guide for Use of Joint SealantsASTM International

    General joint-design, substrate-preparation, backing, primer, installation, environmental and maintenance considerations; explicitly excludes structural glazing.

    Accessed 16 July 2026

Next step

Check the product and cure time

Review Pereseal AF and its current TDS/SDS after identifying the two surfaces and resolving the cause behind the old bead.

Review sanitary sealant

Related documents

Read the product evidence beside the guide

Technical data sheetEN

Pereseal AF TDS

Technical datasheet for Pereseal AF anti-fungal silicone.

Safety data sheetEN28 Oct 2017

Pereseal AF SDS

Relevant starting points

Products mentioned in this guide

These are selection starting points. Confirm suitability in current product documentation.

Anti-fungal silicone

Pereseal AF Anti-Fungal Bathroom & Kitchen Silicone Sealant

Product details

Keep learning

Related evidence-led guides