Troubleshooting

Can you paint over sealant without the paint cracking?

Understand which sealants may be paintable, when to paint, why coatings crack or stay tacky and how to test the sealant–paint system first.

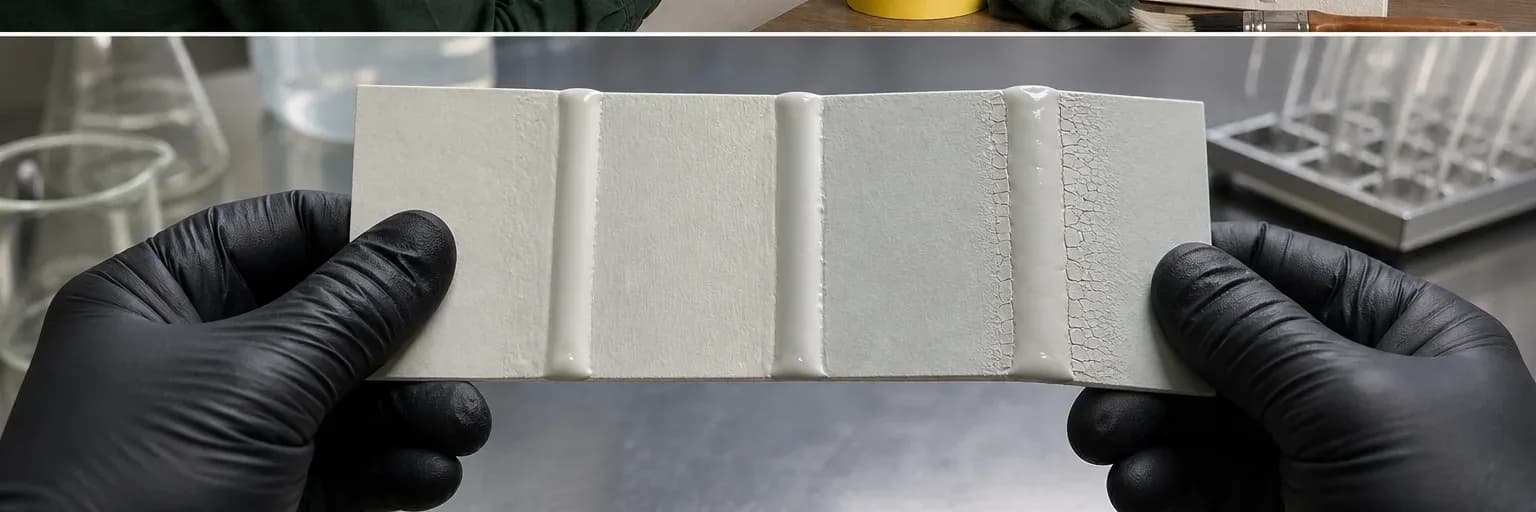
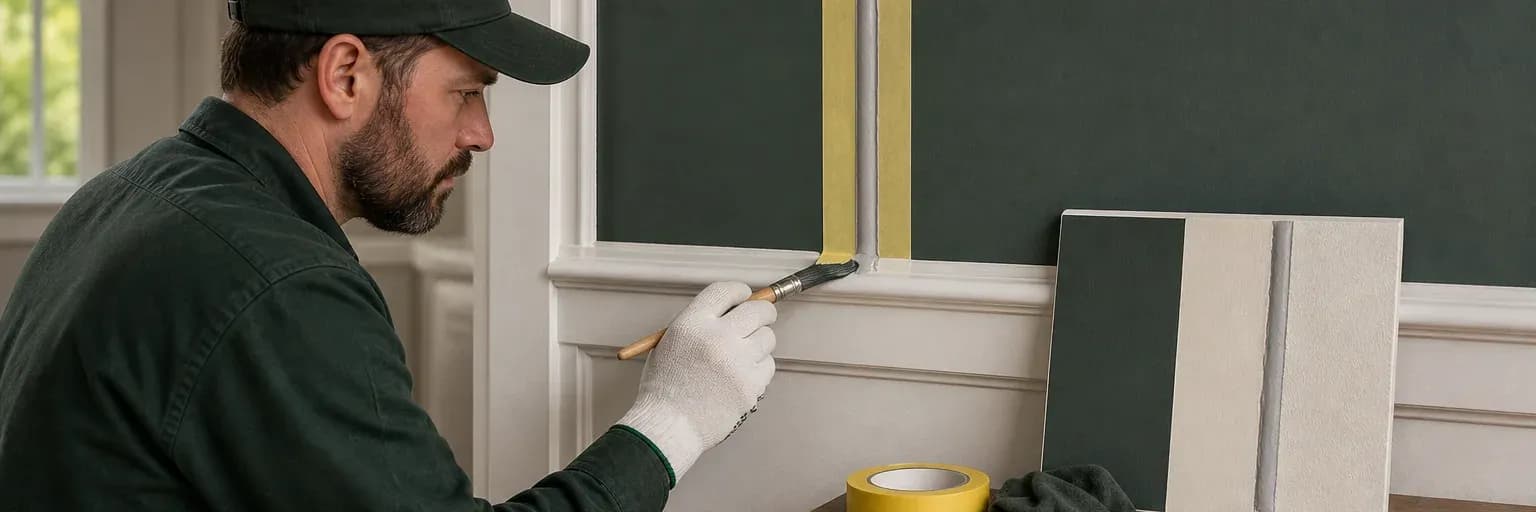
Painted interior trim joint beside test swatches showing sound paint, cracking and tacky coating over sealant
Paintability is a relationship among sealant, cure, movement and coating; a “paintable” label alone cannot guarantee the finish.

Short answer

What to know first

Paint only a sealant whose current TDS allows it, after the stated drying or curing period, with a compatible coating tested on the actual materials. Acrylic caulks are usually the first type to check for paintable interior gaps; selected polyurethane and hybrid products may also be paintable. Conventional silicone generally is not. Even approved paint can crack if the joint moves more than the coating film can tolerate.

A paintable sealant lets a finishing joint visually merge with the wall or trim. Problems often appear after the painter has left: a fine line cracks, the coating discolours, or the surface remains sticky. These outcomes can come from incompatible materials, premature painting or normal joint movement that the rigid paint film cannot follow.

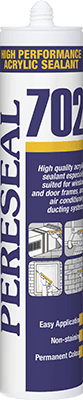
For paintable interior gaps, start with Pereseal 702 and the interior gaps guide. Check the current TDS and the paint manufacturer’s instructions for the actual job.

Check the sealant type and product TDS

Water-based acrylic sealants are normally the first family considered for interior gaps that will be painted. They dry and form a surface intended to accept suitable coatings when the product instructions are followed. Selected polyurethane and hybrid sealants may also allow painting. Their longer cure, movement and exposure roles can differ from decorating caulk, so they should not be chosen only because paint is permitted.

Conventional silicone is generally left unpainted because common coatings do not adhere reliably to its cured surface. A product described as paintable silicone or a specialist system must be evaluated as that exact formulation. Never try to make ordinary silicone paintable by abrading it or adding an undocumented coating; choose a compatible exposed colour or redesign the finish instead.

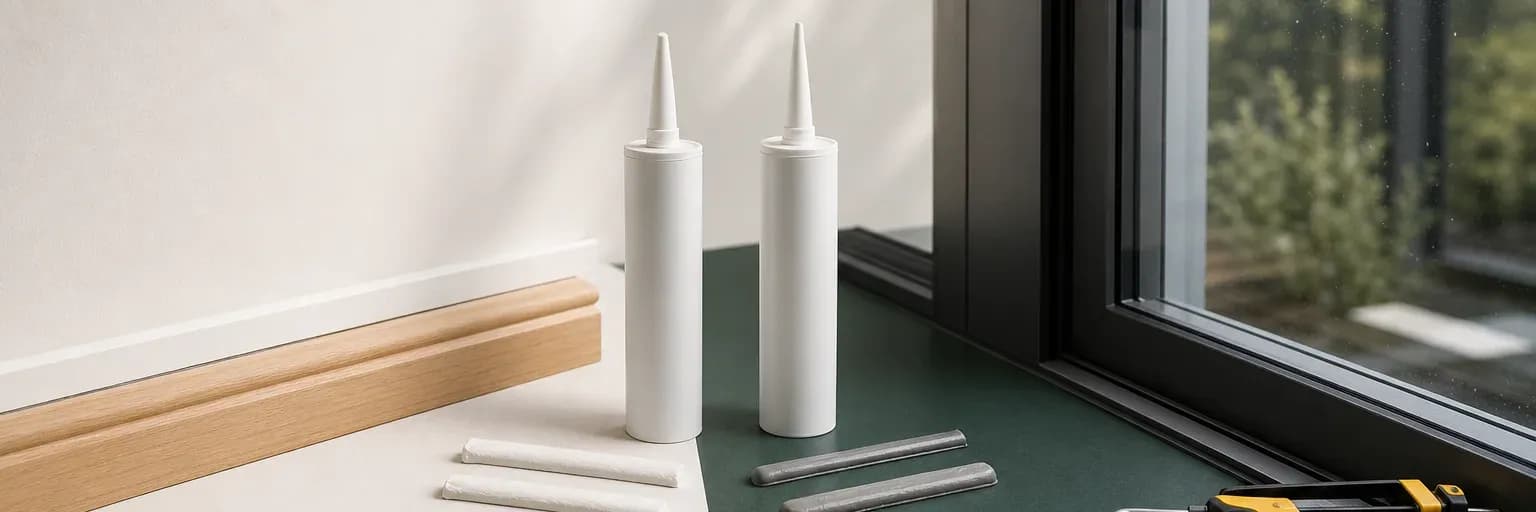
Acrylic sealant test beads coated with several labelled paint swatches on a sample board
A small mock-up reveals adhesion, drying, colour and cracking before the sealant–paint combination is repeated across finished work.

Wait until the sealant is ready for paint

A surface that feels dry may retain water or uncured material below. Painting too early can slow further drying, trap by-products, soften the coating or change colour. Thick beads, cool conditions and high humidity alter the timeline. Follow the current TDS wording: “skin,” “tack-free,” “paintable after” and “fully cured” are not interchangeable milestones.

Sequence the work so the joint can reach the required condition without dust, movement or water. Do not use a generic clock from another product. The sealant cure-time guide explains the stages. Where no explicit paint time is provided, ask the manufacturer rather than treating silence as immediate permission.

Put the sealant and paint operations in the work sequence with a weather allowance. If a programme cannot accommodate the documented interval, changing the sequence or detail is more defensible than accelerating it with heat, solvent or an unapproved coating system.

Different milestones occur at different times

Make sure the paint can handle the expected movement

Paintability does not make the coating elastic enough for every joint. A thin paint film can bridge an acrylic bead, but movement may concentrate at its centre or edges. The coating can crack while the sealant remains bonded and serviceable. Wider, deeper or active movement joints are especially likely to telegraph through a relatively rigid decorative finish.

Decide whether appearance or movement performance has priority. For a true movement joint, an exposed compatible sealant colour may be more honest and maintainable than paint. For a low-movement decorating gap, control geometry and allow the sealant to dry. If recurring cracks reflect building movement or weak substrate, adding more caulk and paint will not address the cause.

Check paint compatibility and coating thickness

Water-based and solvent-borne coatings can interact differently with a sealant. Plasticisers or other components may migrate, causing tack, staining or poor adhesion. The paint may also dry more slowly over a non-porous bead than over the surrounding wall. Confirm both manufacturers’ instructions and include primer, undercoat and finish coat in the compatibility review.

Apply the paint at its normal specified thickness rather than building an unusually heavy bridge over the joint. Thick coatings can crack more visibly and delay drying. Keep the sealant surface clean and free of unapproved tooling residue. If masking or sanding is proposed, make sure the process is allowed and does not cut or contaminate the bead.

Test the full system before painting

Prepare a sample with the actual substrate, sealant batch, bead size, primer and coating system. Allow the sealant to dry or cure as instructed, apply the full paint sequence, then inspect adhesion, tack, colour, cracking and appearance after an appropriate interval. A same-day patch may reveal immediate incompatibility but cannot simulate every long-term movement or weather condition.

Record the sample and approval on significant work. If the joint will move, a project test may need cycling or technical evaluation beyond a decorative swatch. A field patch is screening evidence, not a new certification. The adhesion and compatibility guide provides a broader test-planning framework.

Label the patch with product, batch, paint system, coats, application date and conditions, then retain photographs after the agreed observation period. A successful anonymous swatch has little value when the production materials change or a defect must be investigated later.

Identify the defect before repairing it

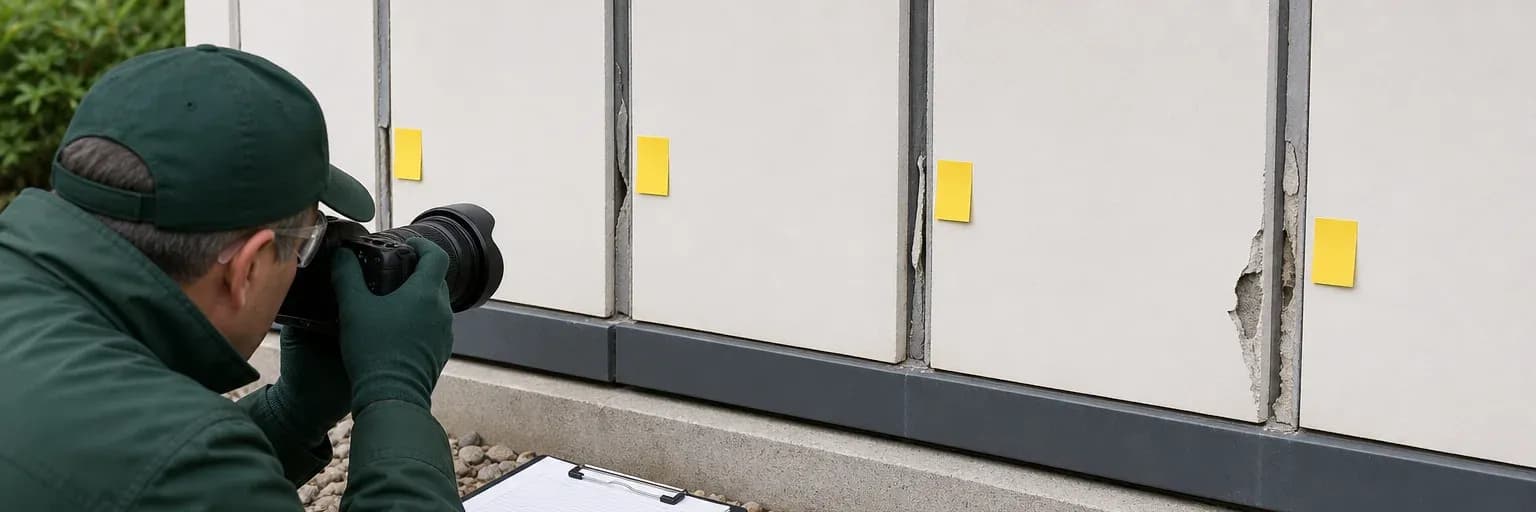
A hairline crack centred over the joint often points toward movement or shrinkage. Edge peeling can indicate poor coating adhesion or contamination. Persistent tack suggests incomplete drying or material interaction. Discolouration may come from migration, moisture or the substrate. Inspect whether the sealant itself remains bonded, elastic and intact before deciding that the entire joint has failed.

Remove only what the approved repair requires. Repainting a moving crack with a thicker film may worsen the visible line. If sealant adhesion or substrate failure is present, use the joint-failure diagnosis and correct the base condition. For an intact but cosmetically cracked joint, the paint or detail may need to change rather than the sealant.

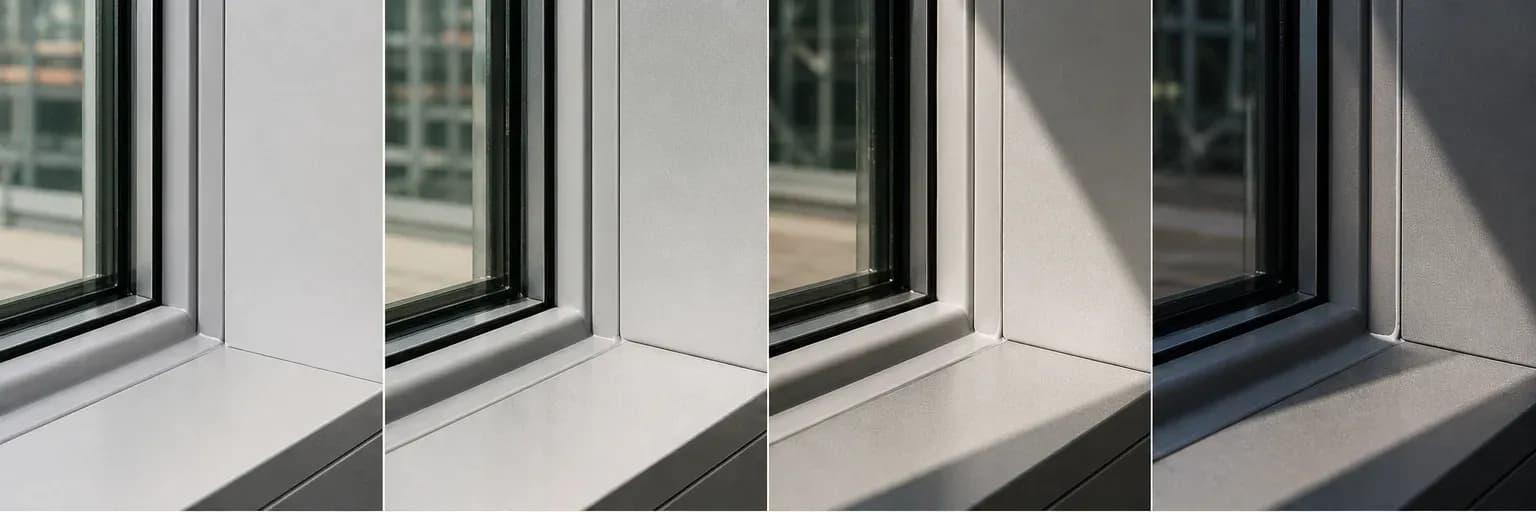
Read where the joint separated

Start with Pereseal 702 for paintable gaps

Pereseal 702 is the first product to check for suitable paintable gaps, frames, wall cracks and selected ducting work. Its intended uses do not prove movement, exposure or paint compatibility for every joint. If the current TDS does not cover the conditions, choose another product rather than stretching the stated use.

Confirm current pack and colour availability, drying instructions, joint dimensions, exposure and paint guidance. Neither acrylic should be treated as a substitute for a flexible wet-area, exterior movement or active structural crack detail. If water, significant movement or a safety function is present, return to the application selector and choose the chemistry from the complete conditions.

Record the sealant, paint system and test-patch result before full application.

Decision aid

Before painting a sealant joint

The product TDS allows painting

Verify the exact TDS and any listed coating limits; do not infer paintability from chemistry or another product.

The sealant is ready for paint

Use the stated drying/cure requirement for the actual bead and environment, not surface touch or a generic waiting period.

The paint can handle the movement

Assess joint movement, paint flexibility, film thickness and the visual consequence if the joint opens or closes.

A test patch works

Test substrate, sealant, preparation and all paint coats together; record limitations and do not overextend the result.

Evidence

Primary sources used

  1. Which sealants can I paint over?Bostik

    General comparison of paintable acrylic joints and elastic exterior silicone selection; not a substitute for either product document.

    Accessed 16 July 2026
  2. FAQ and technical bulletinsBostik Singapore

    General industry guidance on backing rods, joint dimensions, primers, paint cracking, inspection and sealant terminology; not evidence for Pereseal product performance.

    Accessed 16 July 2026
  3. ASTM C1193-25 — Standard Guide for Use of Joint SealantsASTM International

    General joint-design, substrate-preparation, backing, primer, installation, environmental and maintenance considerations; explicitly excludes structural glazing.

    Accessed 16 July 2026

Next step

Choose a paintable sealant for the joint

Review Pereseal 702, then test the actual sealant and paint after the drying period stated in the current TDS.

Review interior gap options

Related documents

Read the product evidence beside the guide

Technical data sheetEN

Pereseal 702 TDS

Technical datasheet for Pereseal 702 acrylic sealant.

Relevant starting points

Products mentioned in this guide

These are selection starting points. Confirm suitability in current product documentation.

Performance acrylic

Pereseal 702 High Performance Acrylic Sealant

Product details

Keep learning

Related evidence-led guides